By Tara Young
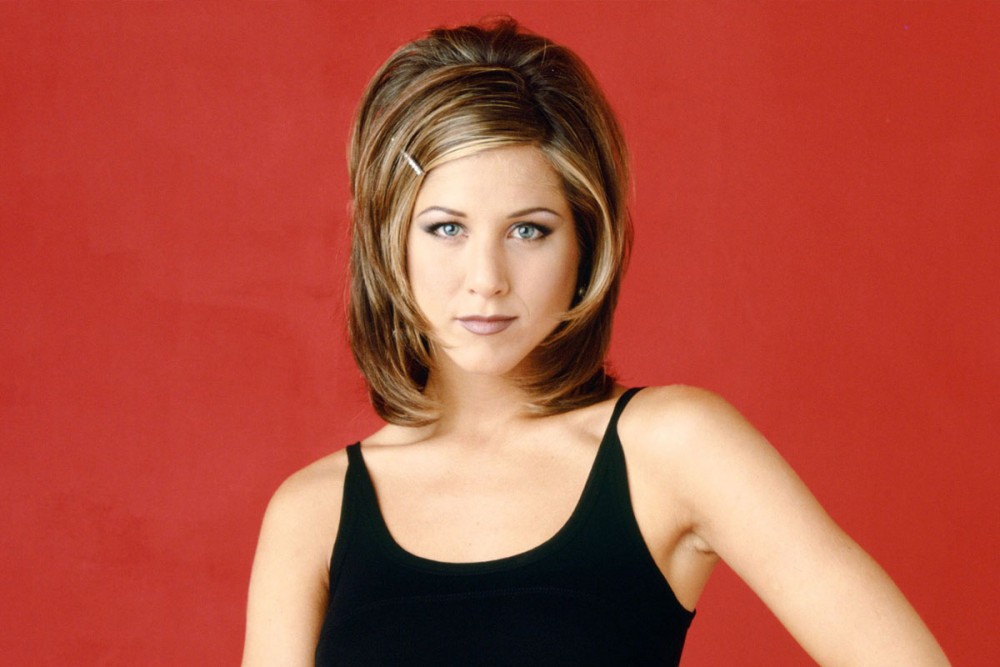
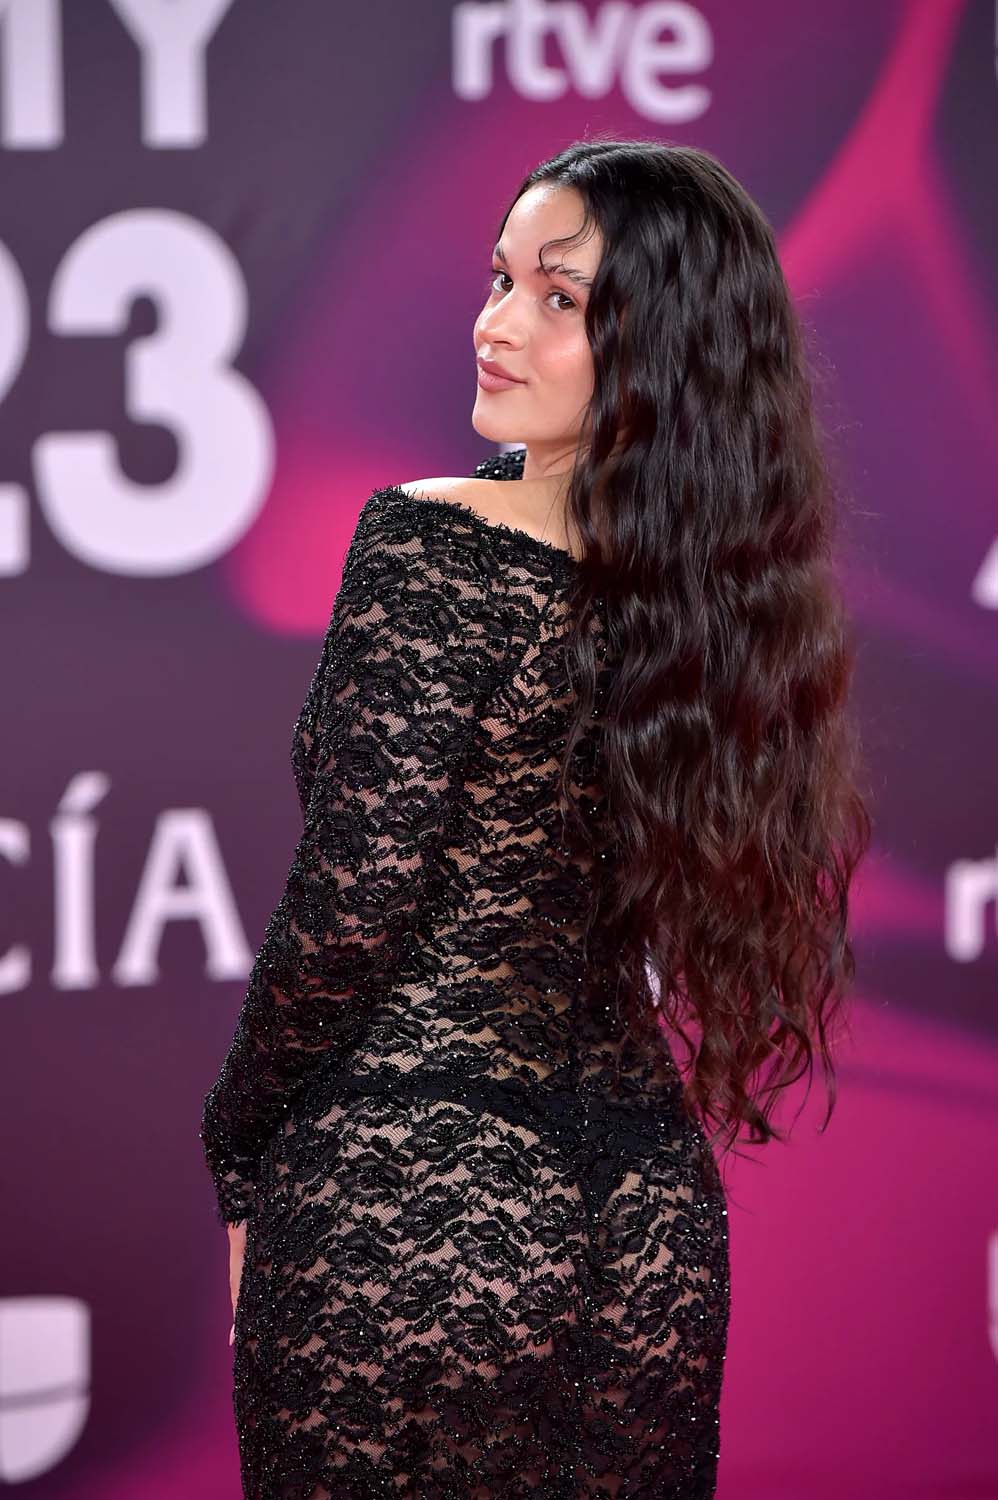
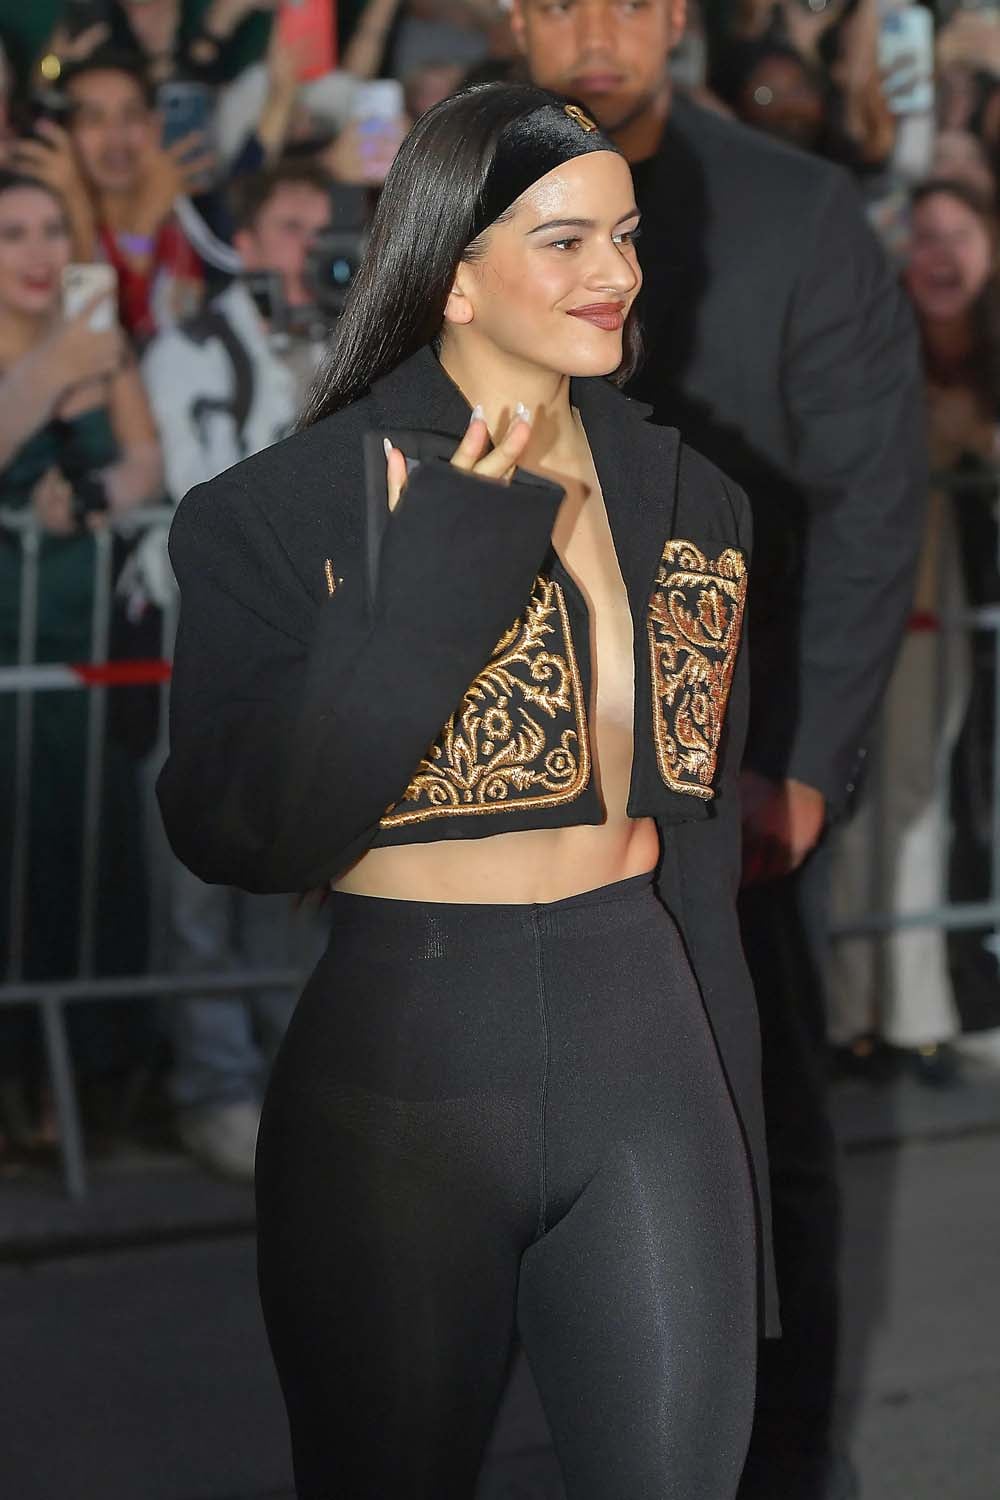
A breath of fresh air amidst our feeds, Rosalía is the moment. Whether she's on stage dripping in Schiaparelli, perching front row at an Acne Studios show with Kylie or sitting on the toilet in Vivienne Westwood, her hair is always snatched into a cute style we're dying to replicate.
While quickly making waves in the music scene, the Spanish superstar has risen to the top not only for her velvety voice and poppy sounds but for her flawless extravagance as a whole. Combining elements of modern flamenco, balletcore and biker leathers to create her singular Motomami style, the ever-evolving Rosalía is a force, and her 28.3 million Instagram followers hard agree.
But if there's one thing we can't take our eyes off, it's her perfect, hip-grazing hair. Whether she's rocking a wet look or a sleek glassy style, Rosalía's hair is executed to the highest calibre. “Once I have my hair done I feel fierce” , and that is the energy we need.
Who better to ring in the hottest time of the year than Rosalía? Let's turn up the heat and knock out some looks this party szn.
Silky Waves
+
+
+
+
Incase you didn't know, long hair is in. Here's how to get those enviable glossy waves:
- Starting with damp hair, prep your foundation using a heat protector like Evo Icon Welder.
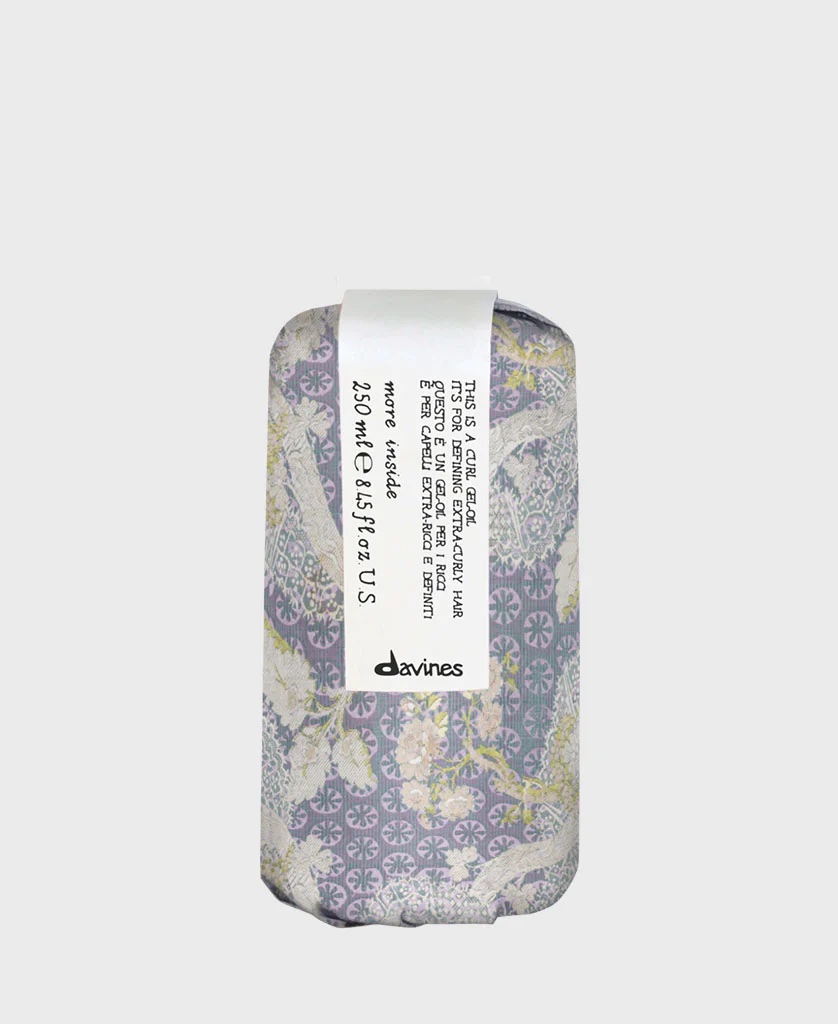
- Follow up with Davines Curl Gel, you want definition plus a flexible hold for this look. Smooth it down through your damp hair and comb.
- Using a diffuser, or your hands, start from the ends and scrunch the hair towards your scalp to encourage that natural curl or wave to twist back.
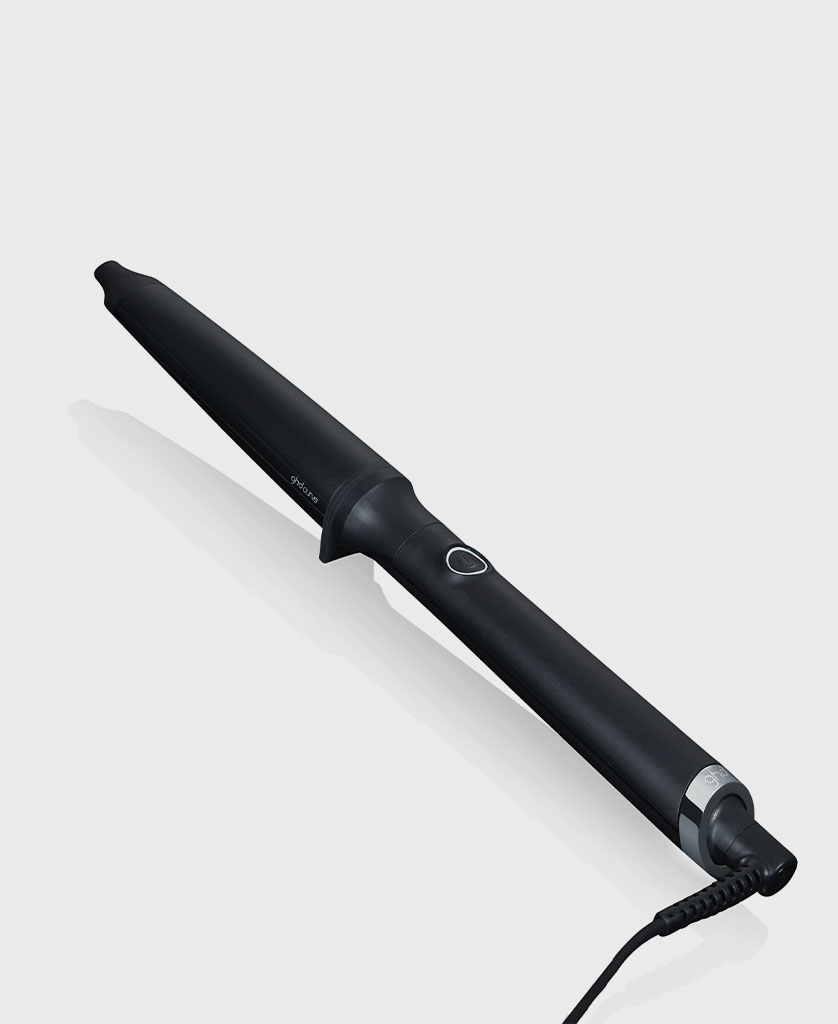
- When the hair is dry, go in with GHD Creative Curl Wand to define your waves. Focus on random sections in alternating directions to avoid them looking too uniform - this is not prom hair.
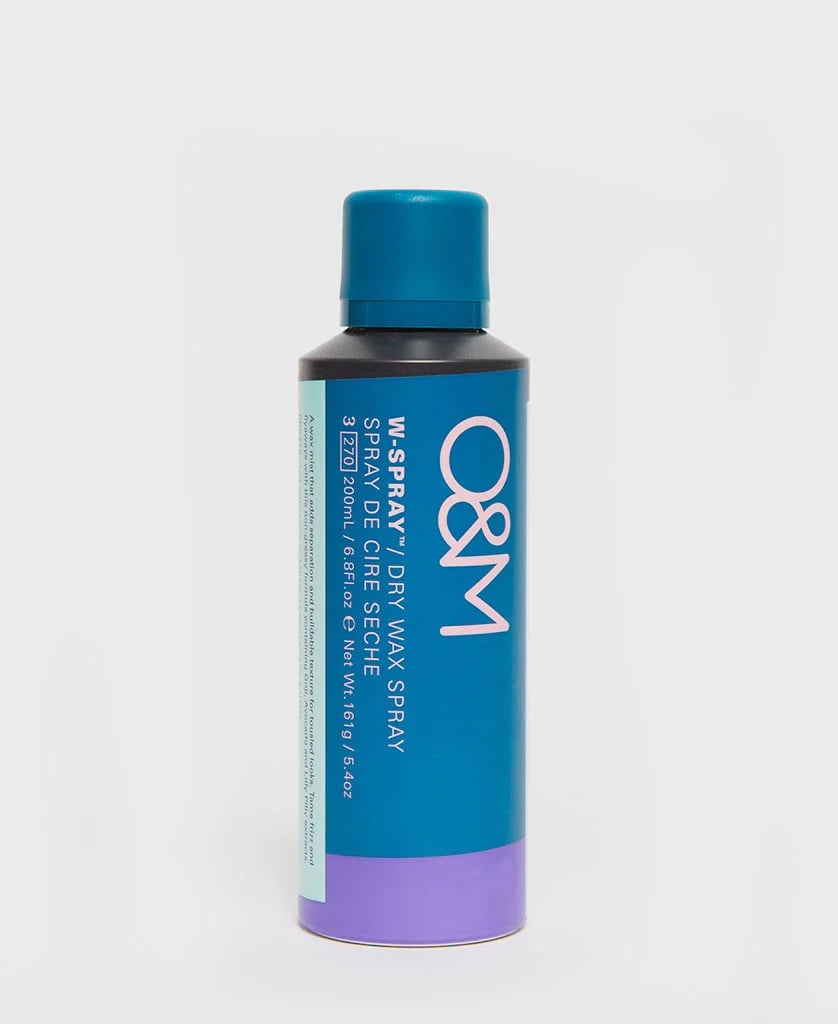
- Finish with a dry wax spray like O&M W Spray for cool piecey texture, creating separation and sheen while keeping flyaways and unwanted frizz in its place.
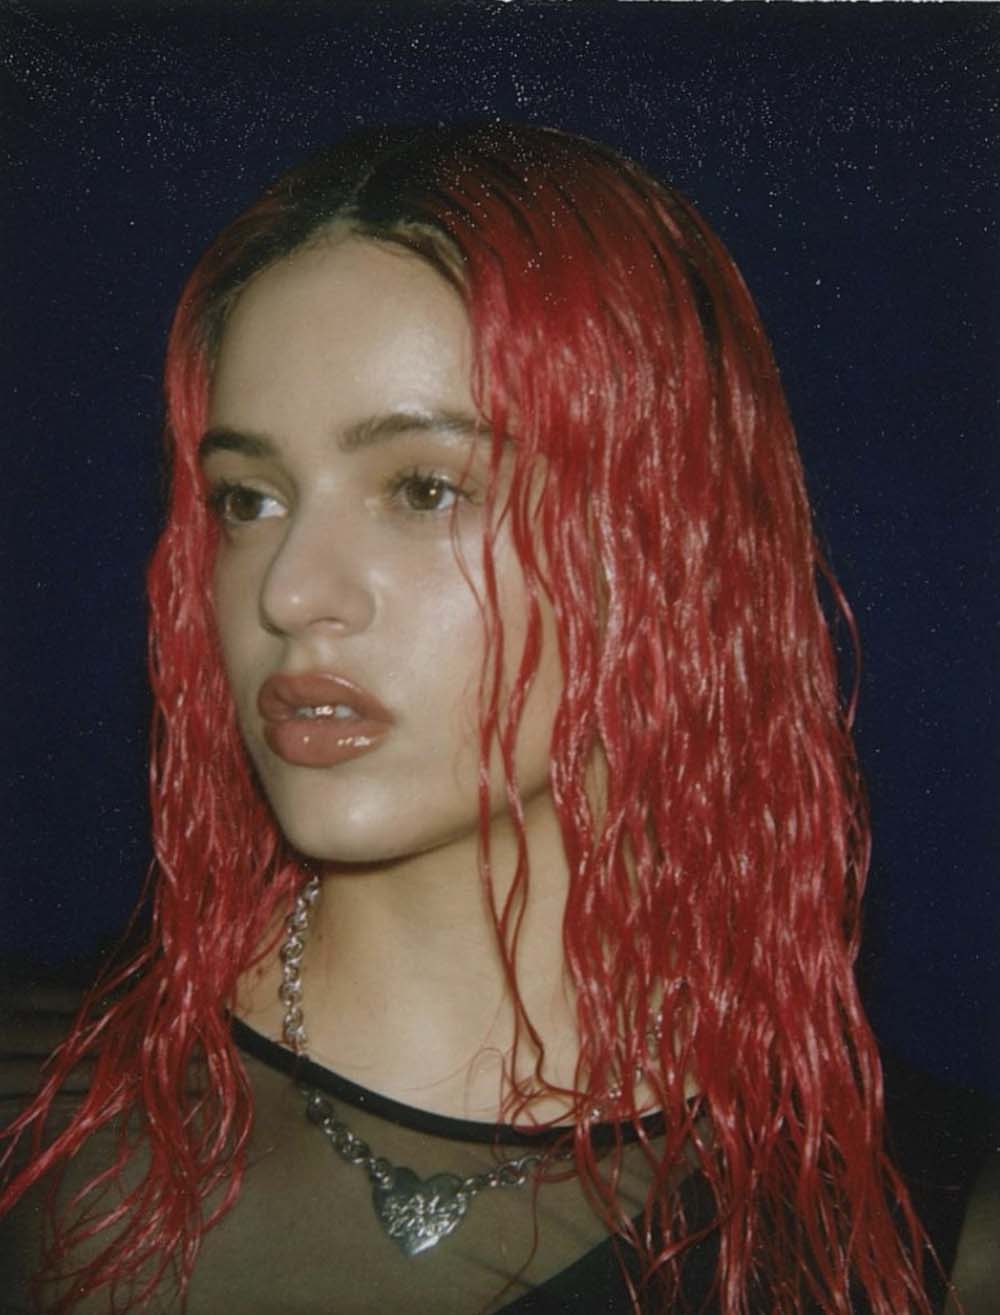
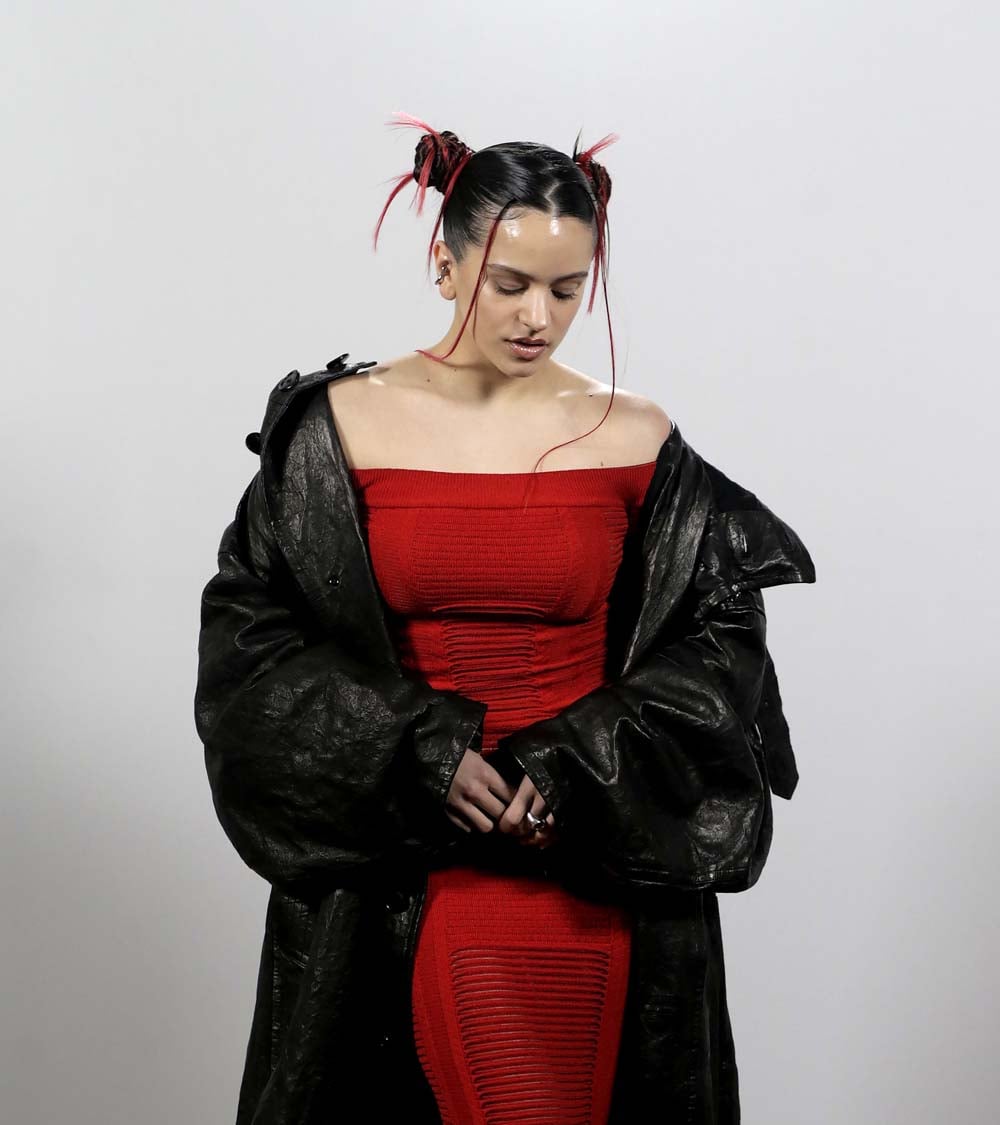
Red Hot Wet Look
+
+
+
+
Get wet, go wild. If you're extra, you'll be ready to spice things up and dye your hair red for summer.
- Start with damp hair and make sure you allow yourself enough time for the look to set – up to one hour for thick hair.
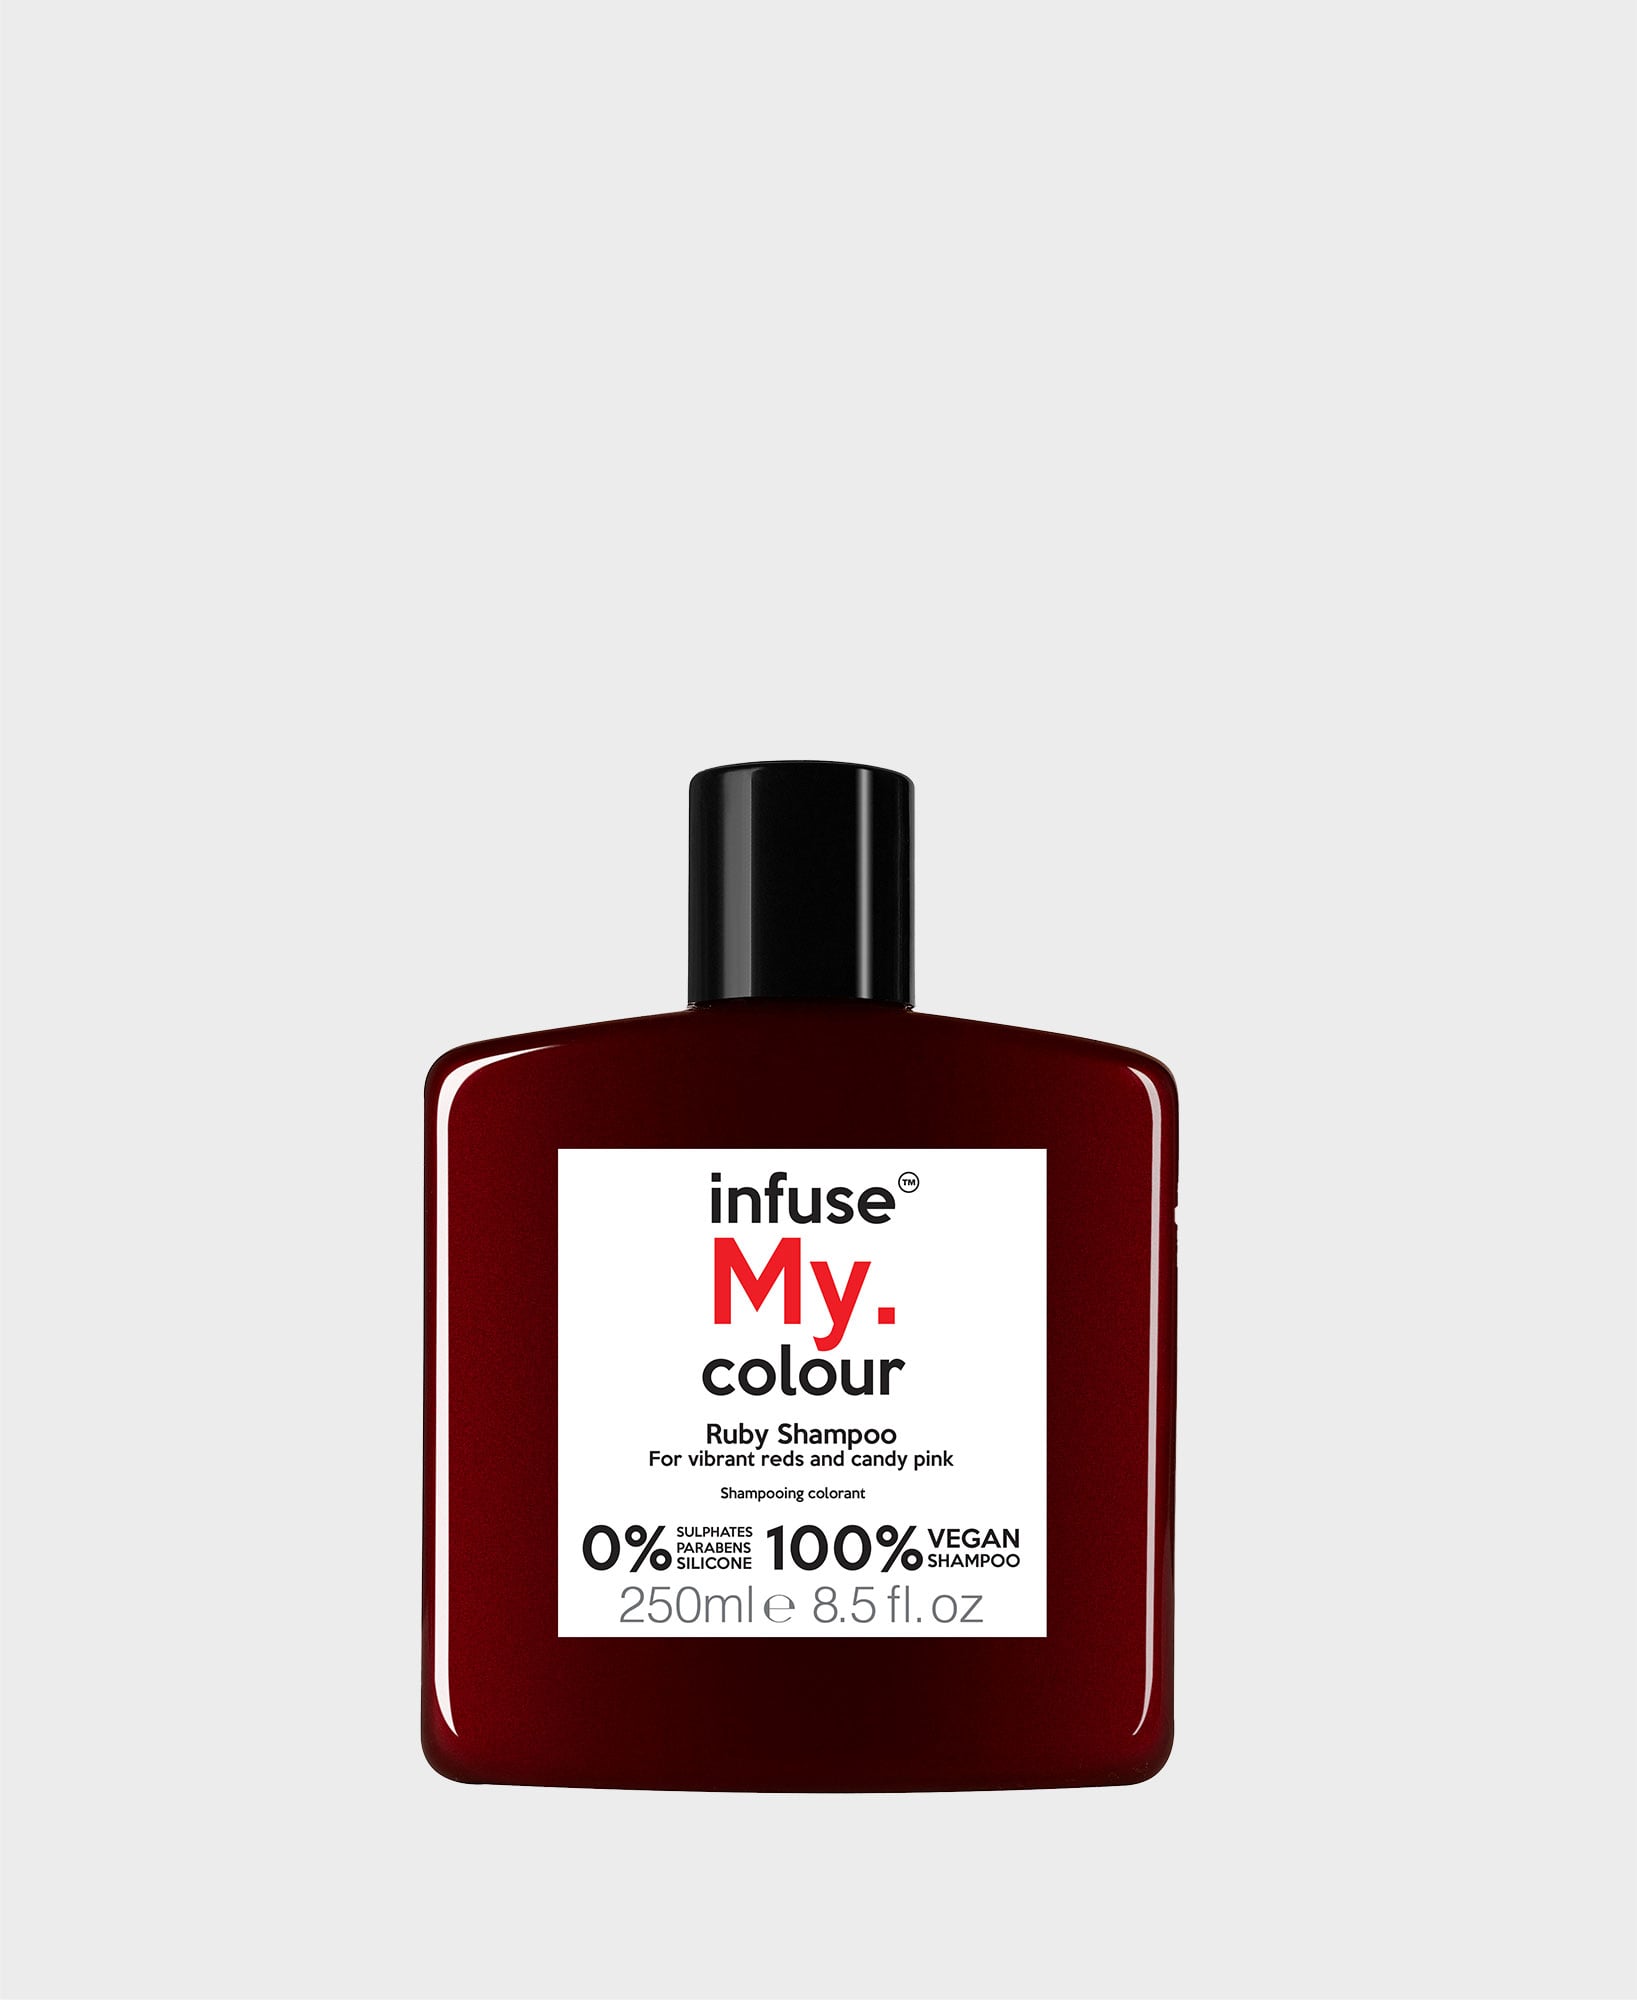
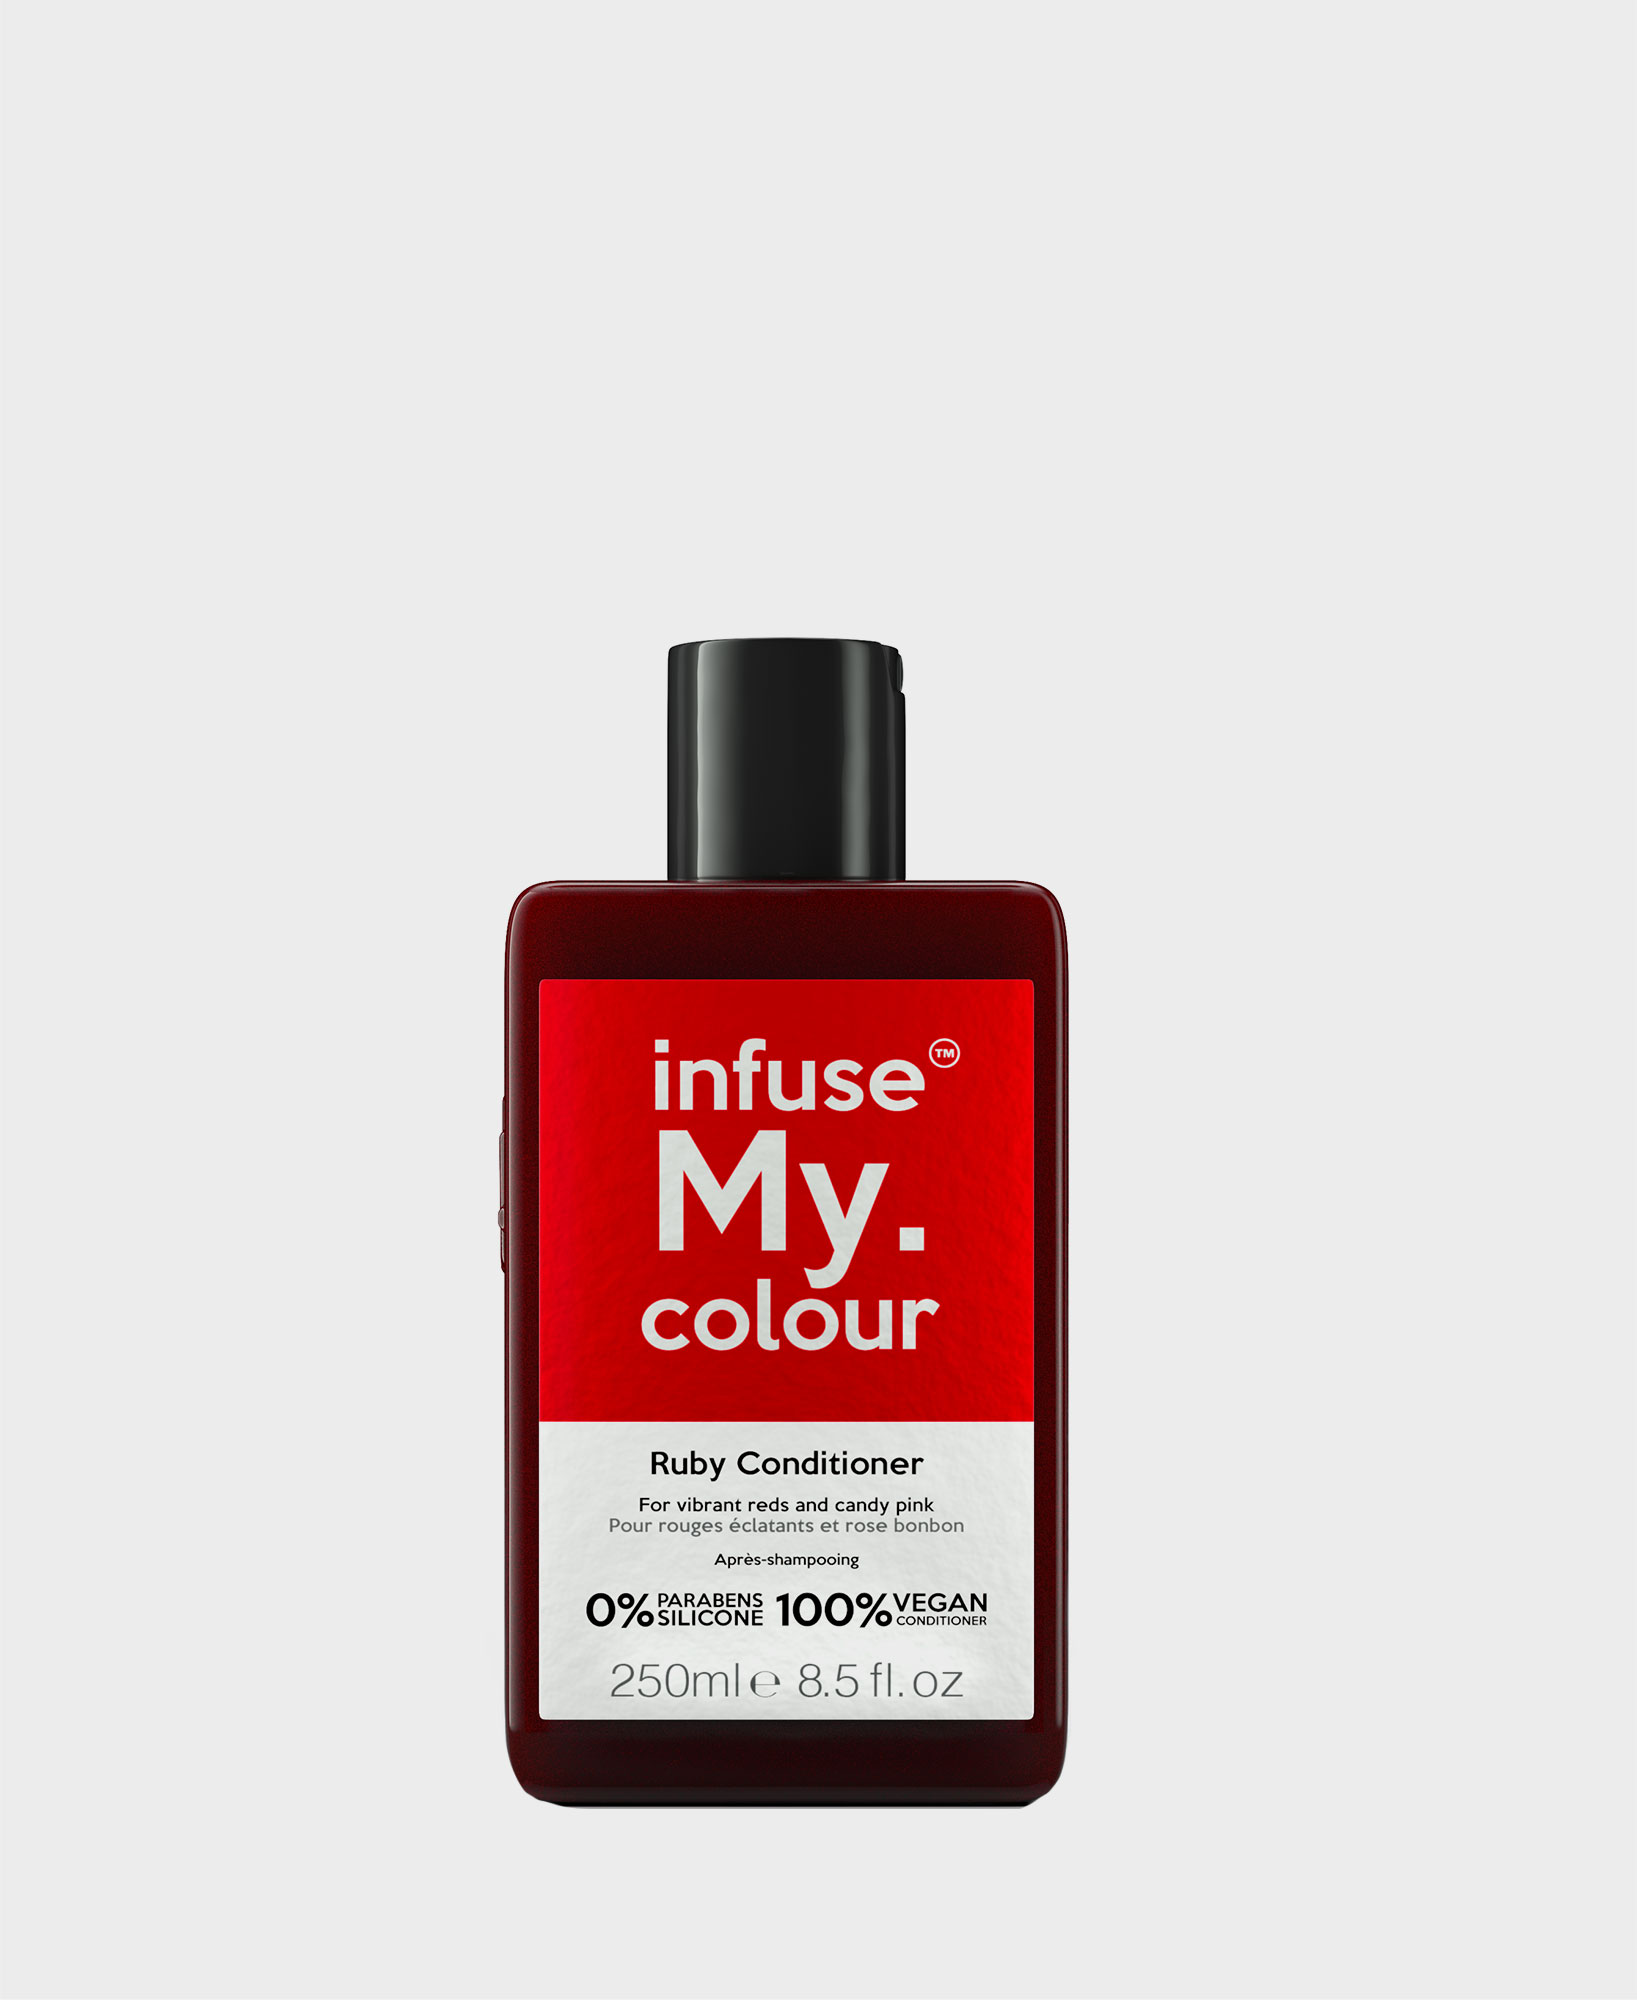
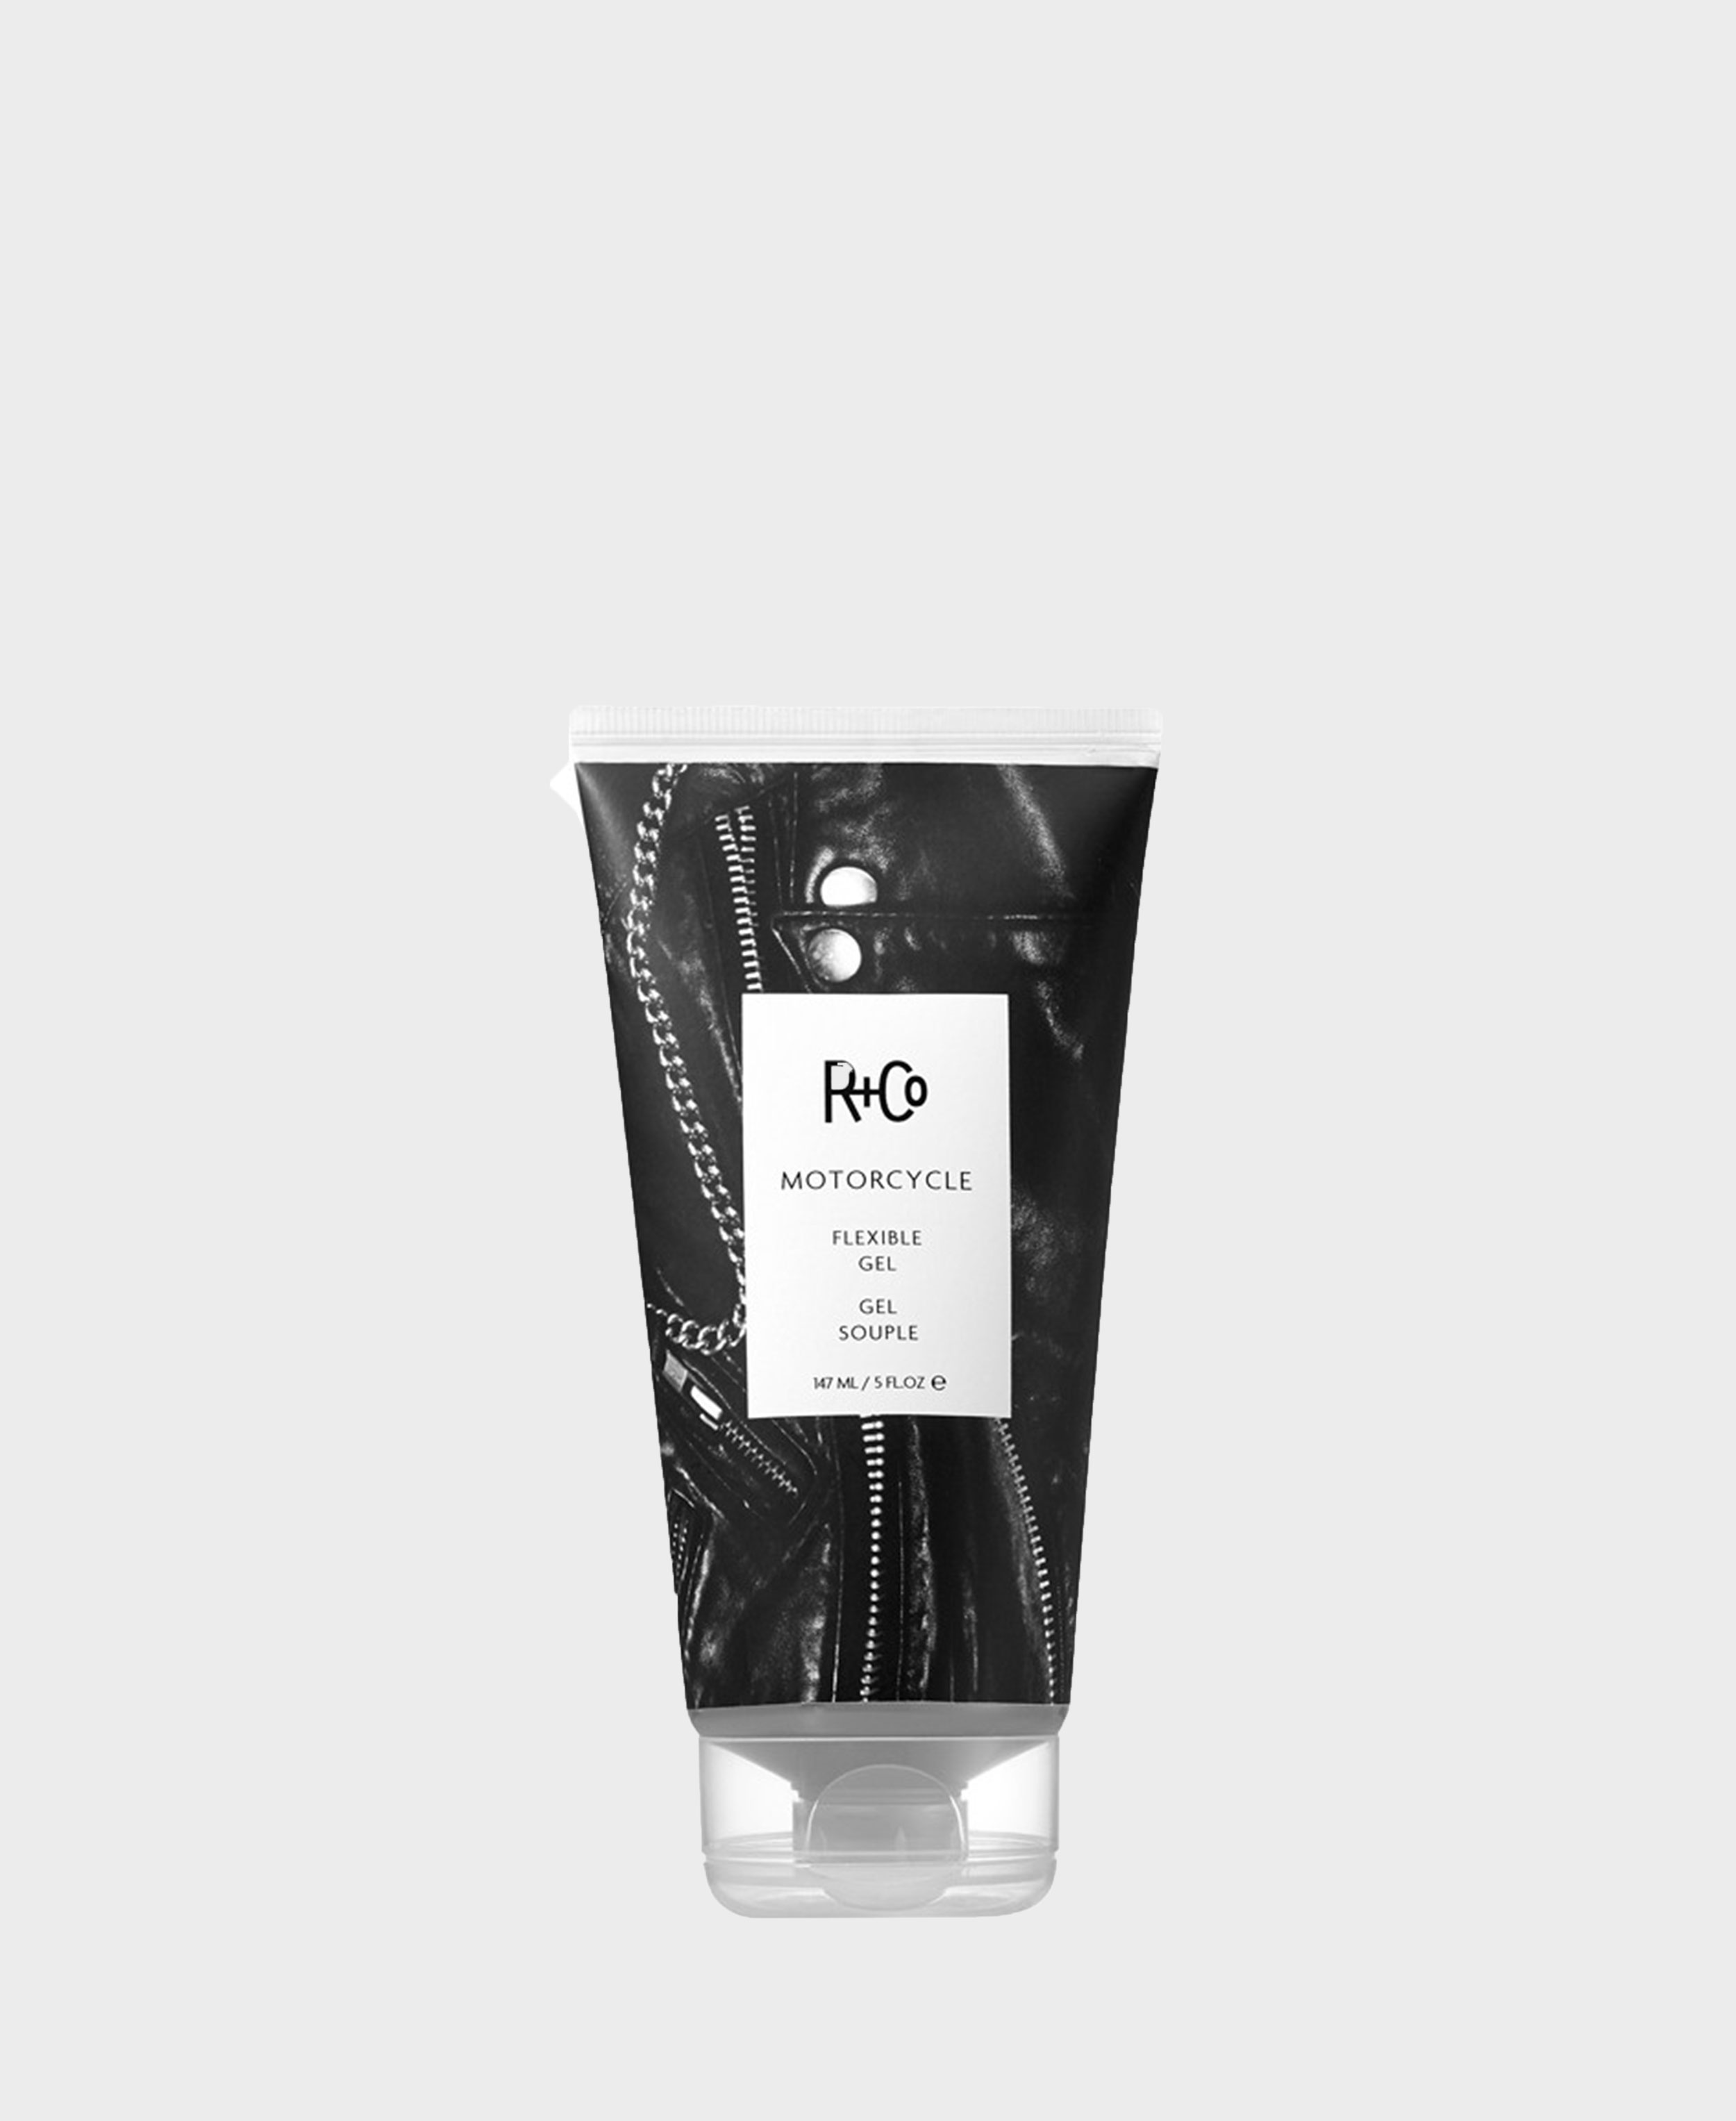
- Apply your R+CO Motorcycle Flexible Gel liberally. Work in sections from the nape, you wanna make sure each hair on your head has a lick of gel
- Pick your hair part before gently brushing each section from root to tip, smoothing through any tangles.
- Now for texture; rest the ends of your hair in the palm of your hands and press upwards against your head to encourage the curls to reform. Tip your head on an angle or upside down to lift the hair off the roots when pressing the top layers.
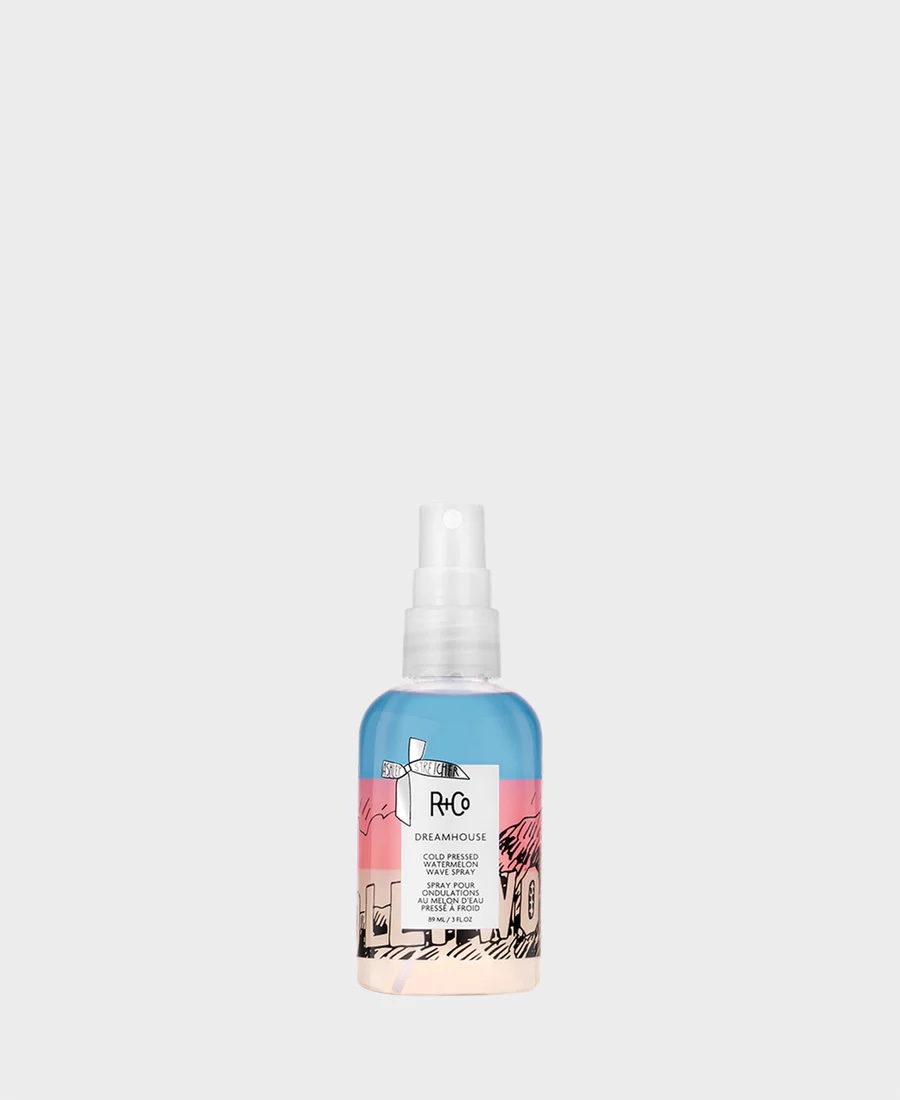
- Set using a shine spray such as R+CO Dreamhouse and hands off! Touching will just cause frizz.
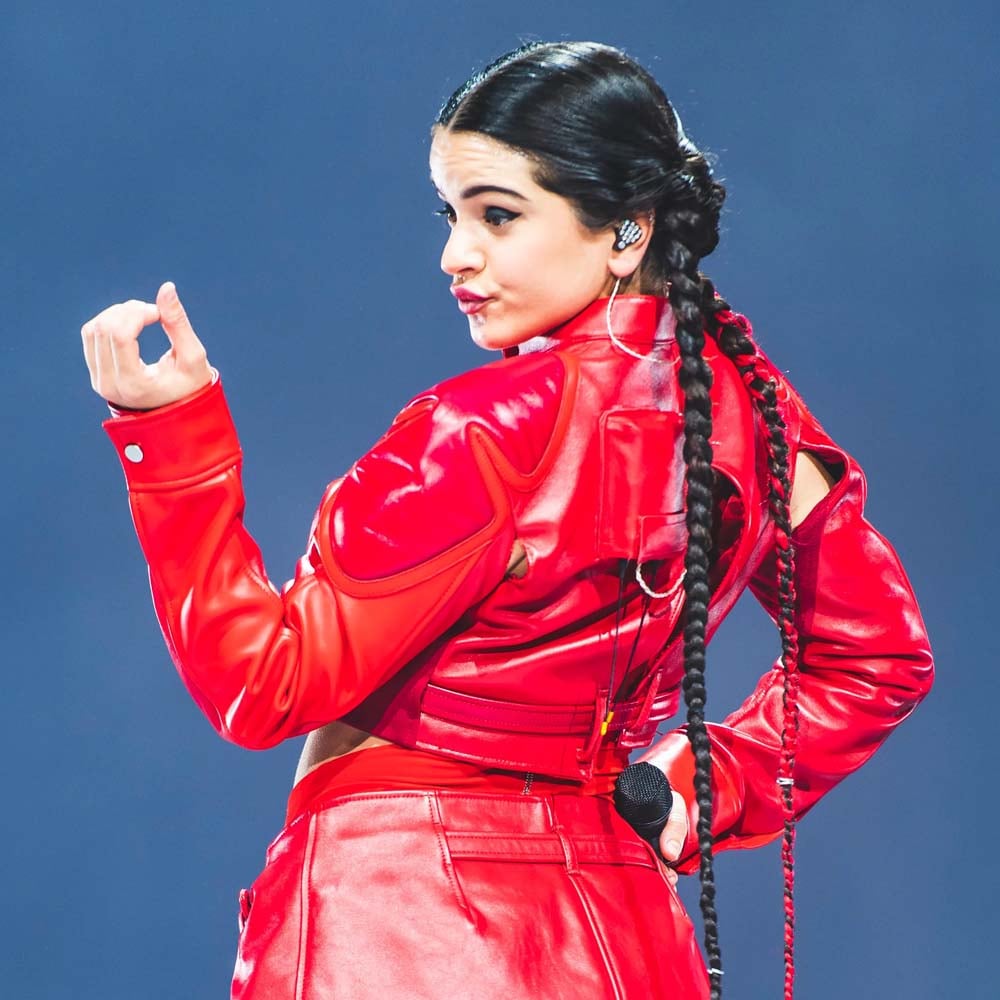
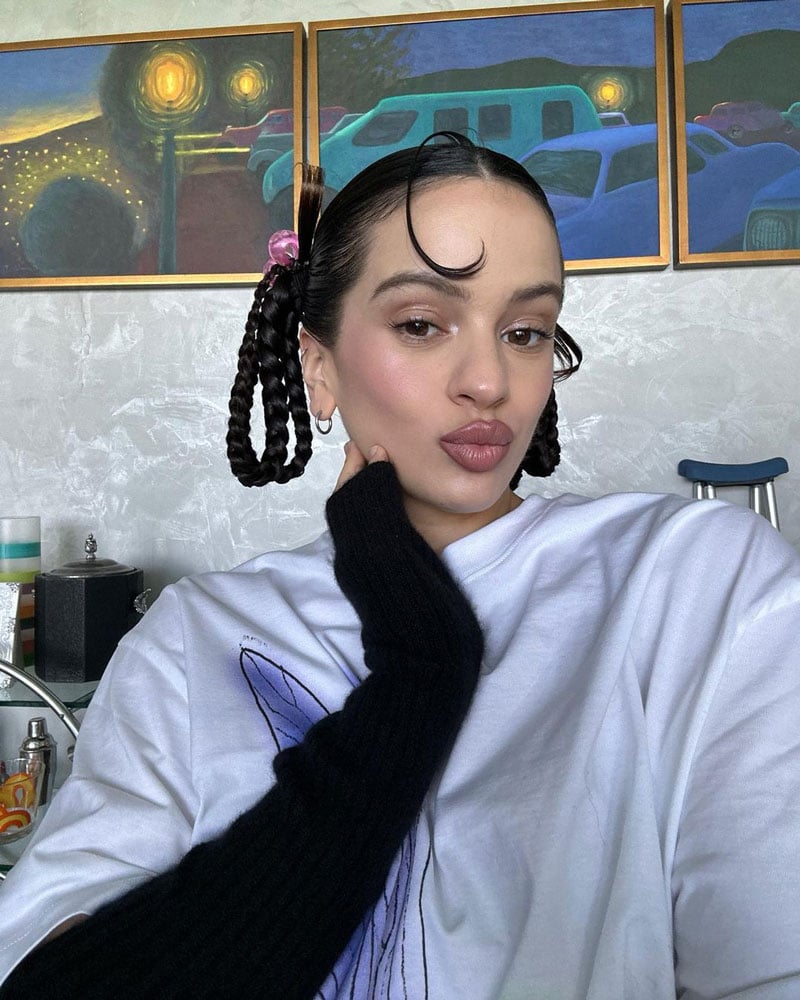
Bobbles & Braids
+
+
+
+
Quite partial to a braided look, Rosalía levels up with multi-braid pigtails, fun. You can do it too!
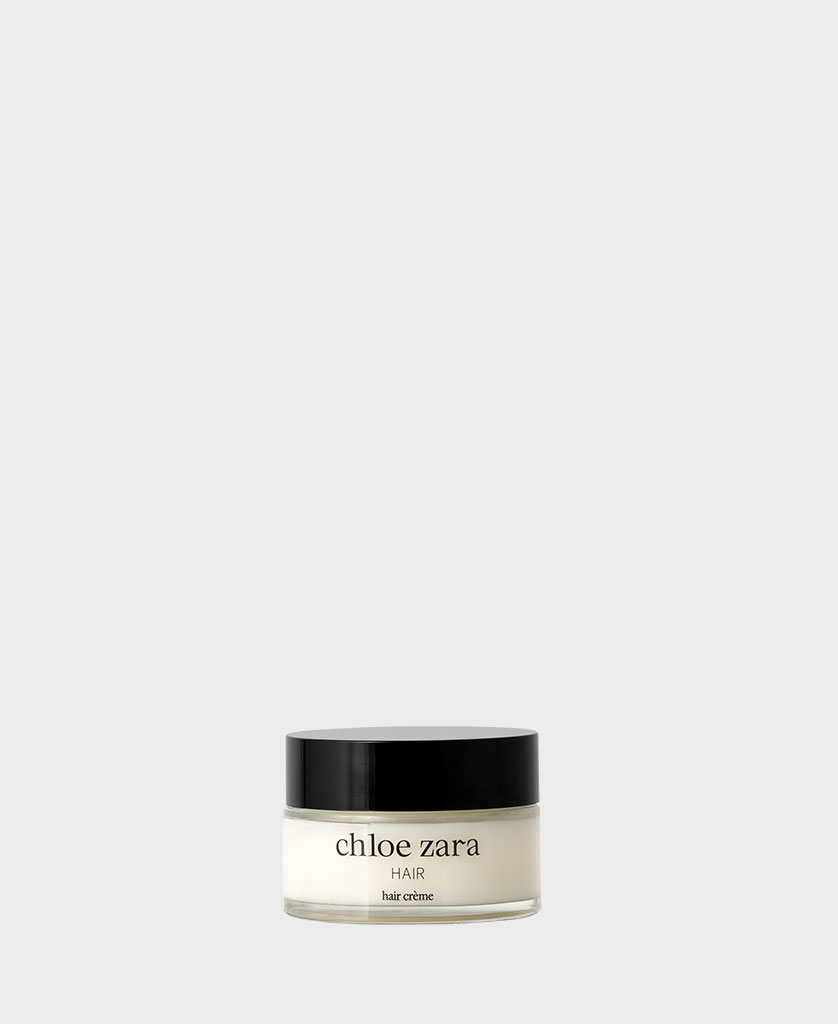
- Part slightly damp hair as you like and coat it in a pre-styling cream such as Chloe Zara Hair Créme to add softness and shine.
- Gently comb the product through each section to make sure it's evenly distributed before tying up 2 pigtails.
- Section each pigtail into how many plaits you want; try 2 for fine hair and 3 for thicker hair. Plait 'em and lock each one in place with a little rubber band, leaving some length on the ends to sculpt.
- When you've completed your plaits, double them over and tuck into the hair tie, leaving those ends out - now is the time to curl or spike them up.
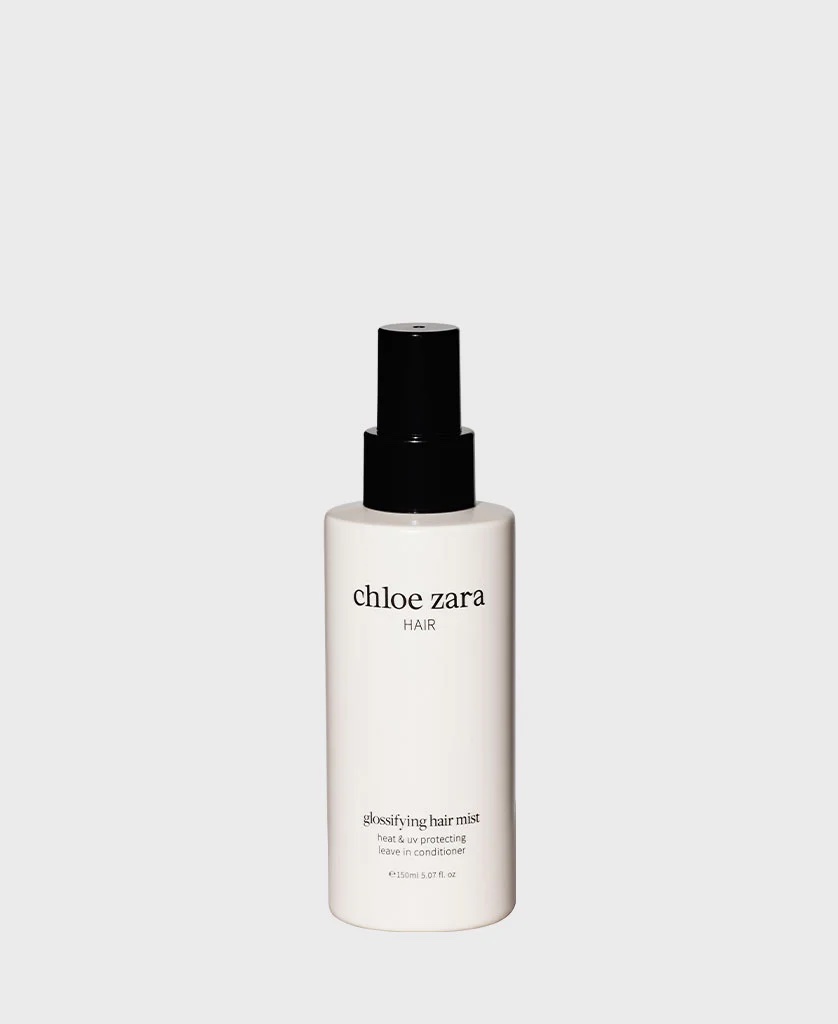
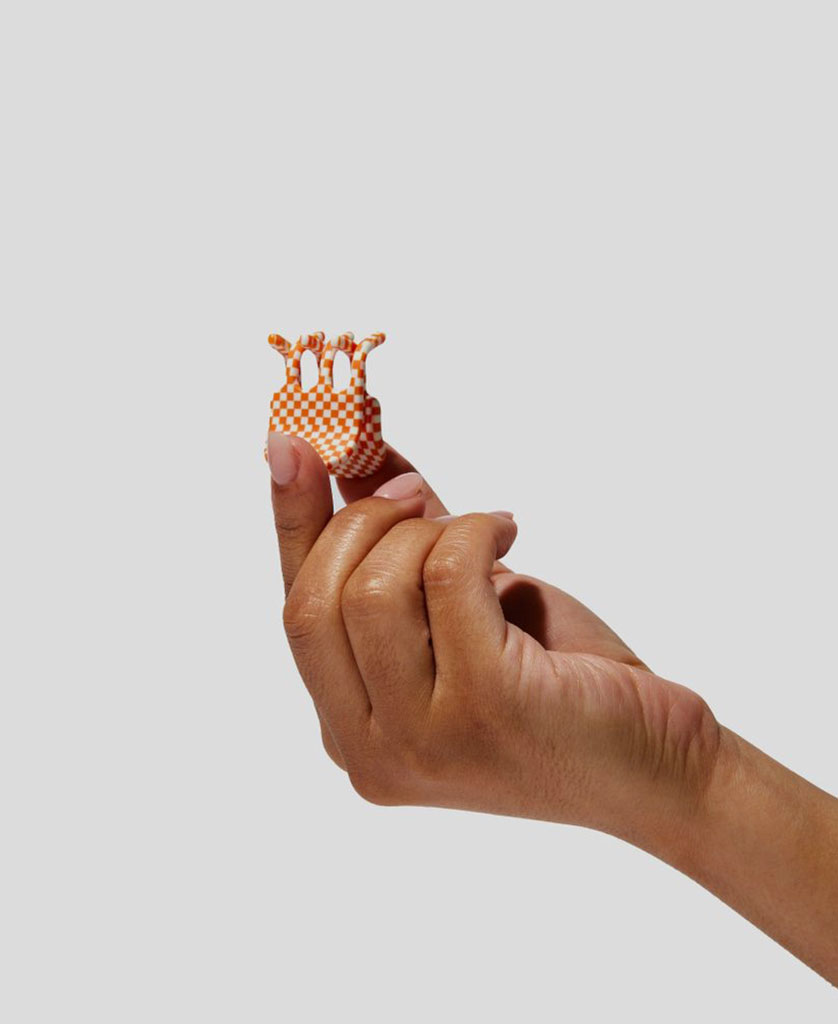
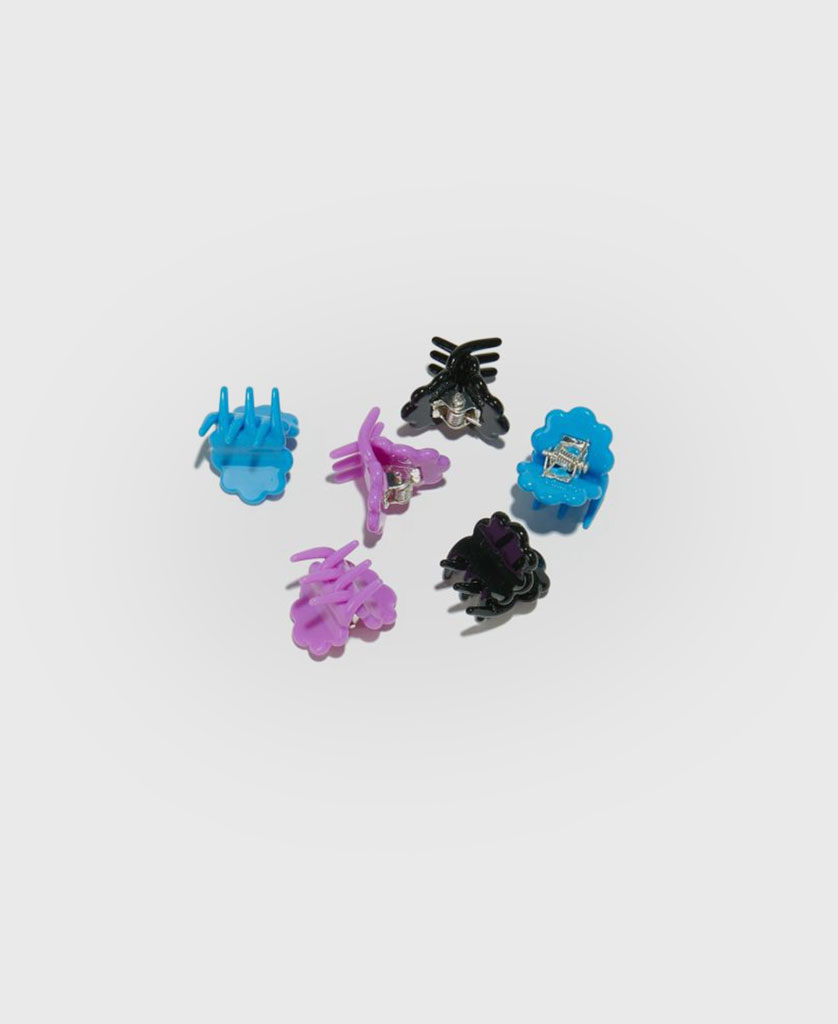
- Douse your hair in Chloe Zara Glossifying Hair Mist for an instant glow up and pop a Chunks Mini Claw on each side for a pop of colour.
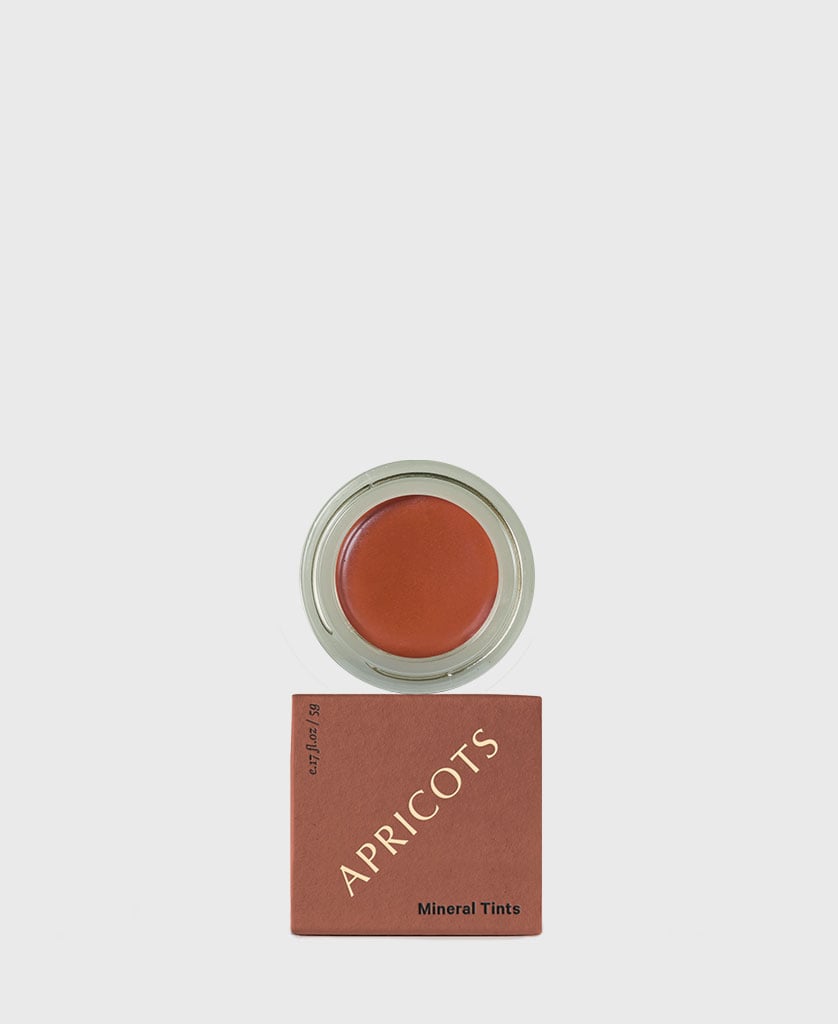
- To complete the look, dab one of our favourite Maryse Mineral Tints on your lips, cheeks and eyes for a luminous flush.
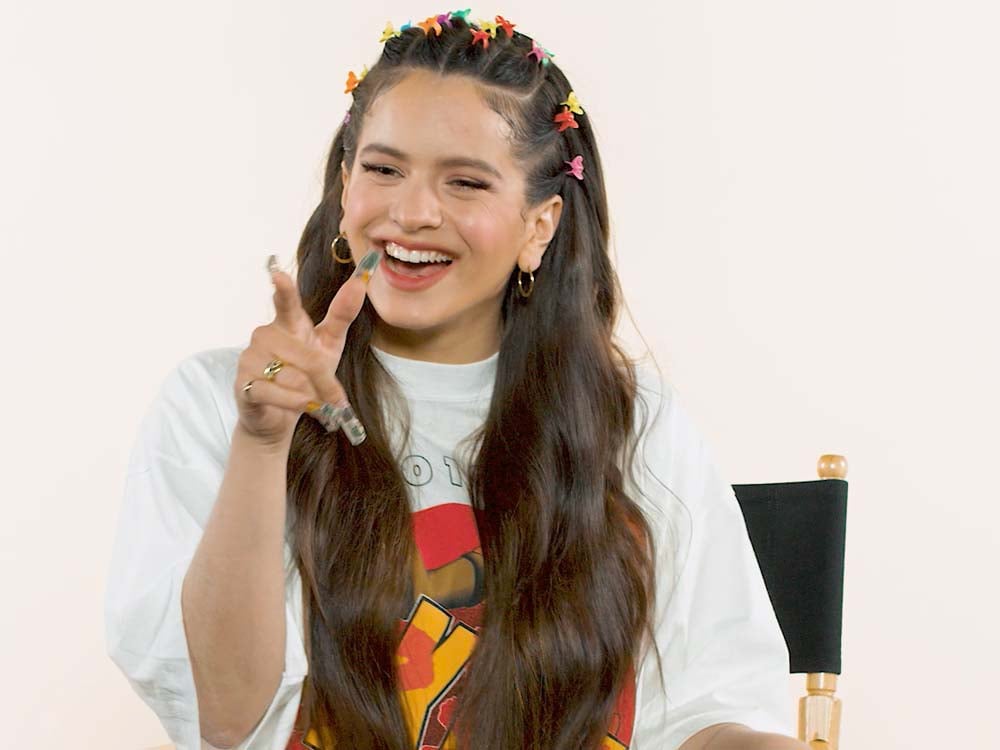
Butterflies In Your Eyes
+
+
This will look cute on all hair types and lengths so decide what your vibe is. Are you going dead straight, curly, coily or for some soft waves?
- Start with freshly washed and dried hair, you want a blank canvas for a light and fluffy look like Rosalia's.
- Pick your player and enhance your hair using your hot tool of choice. Use GHD Creative Curling Wand to achieve natural curls or deep waves.
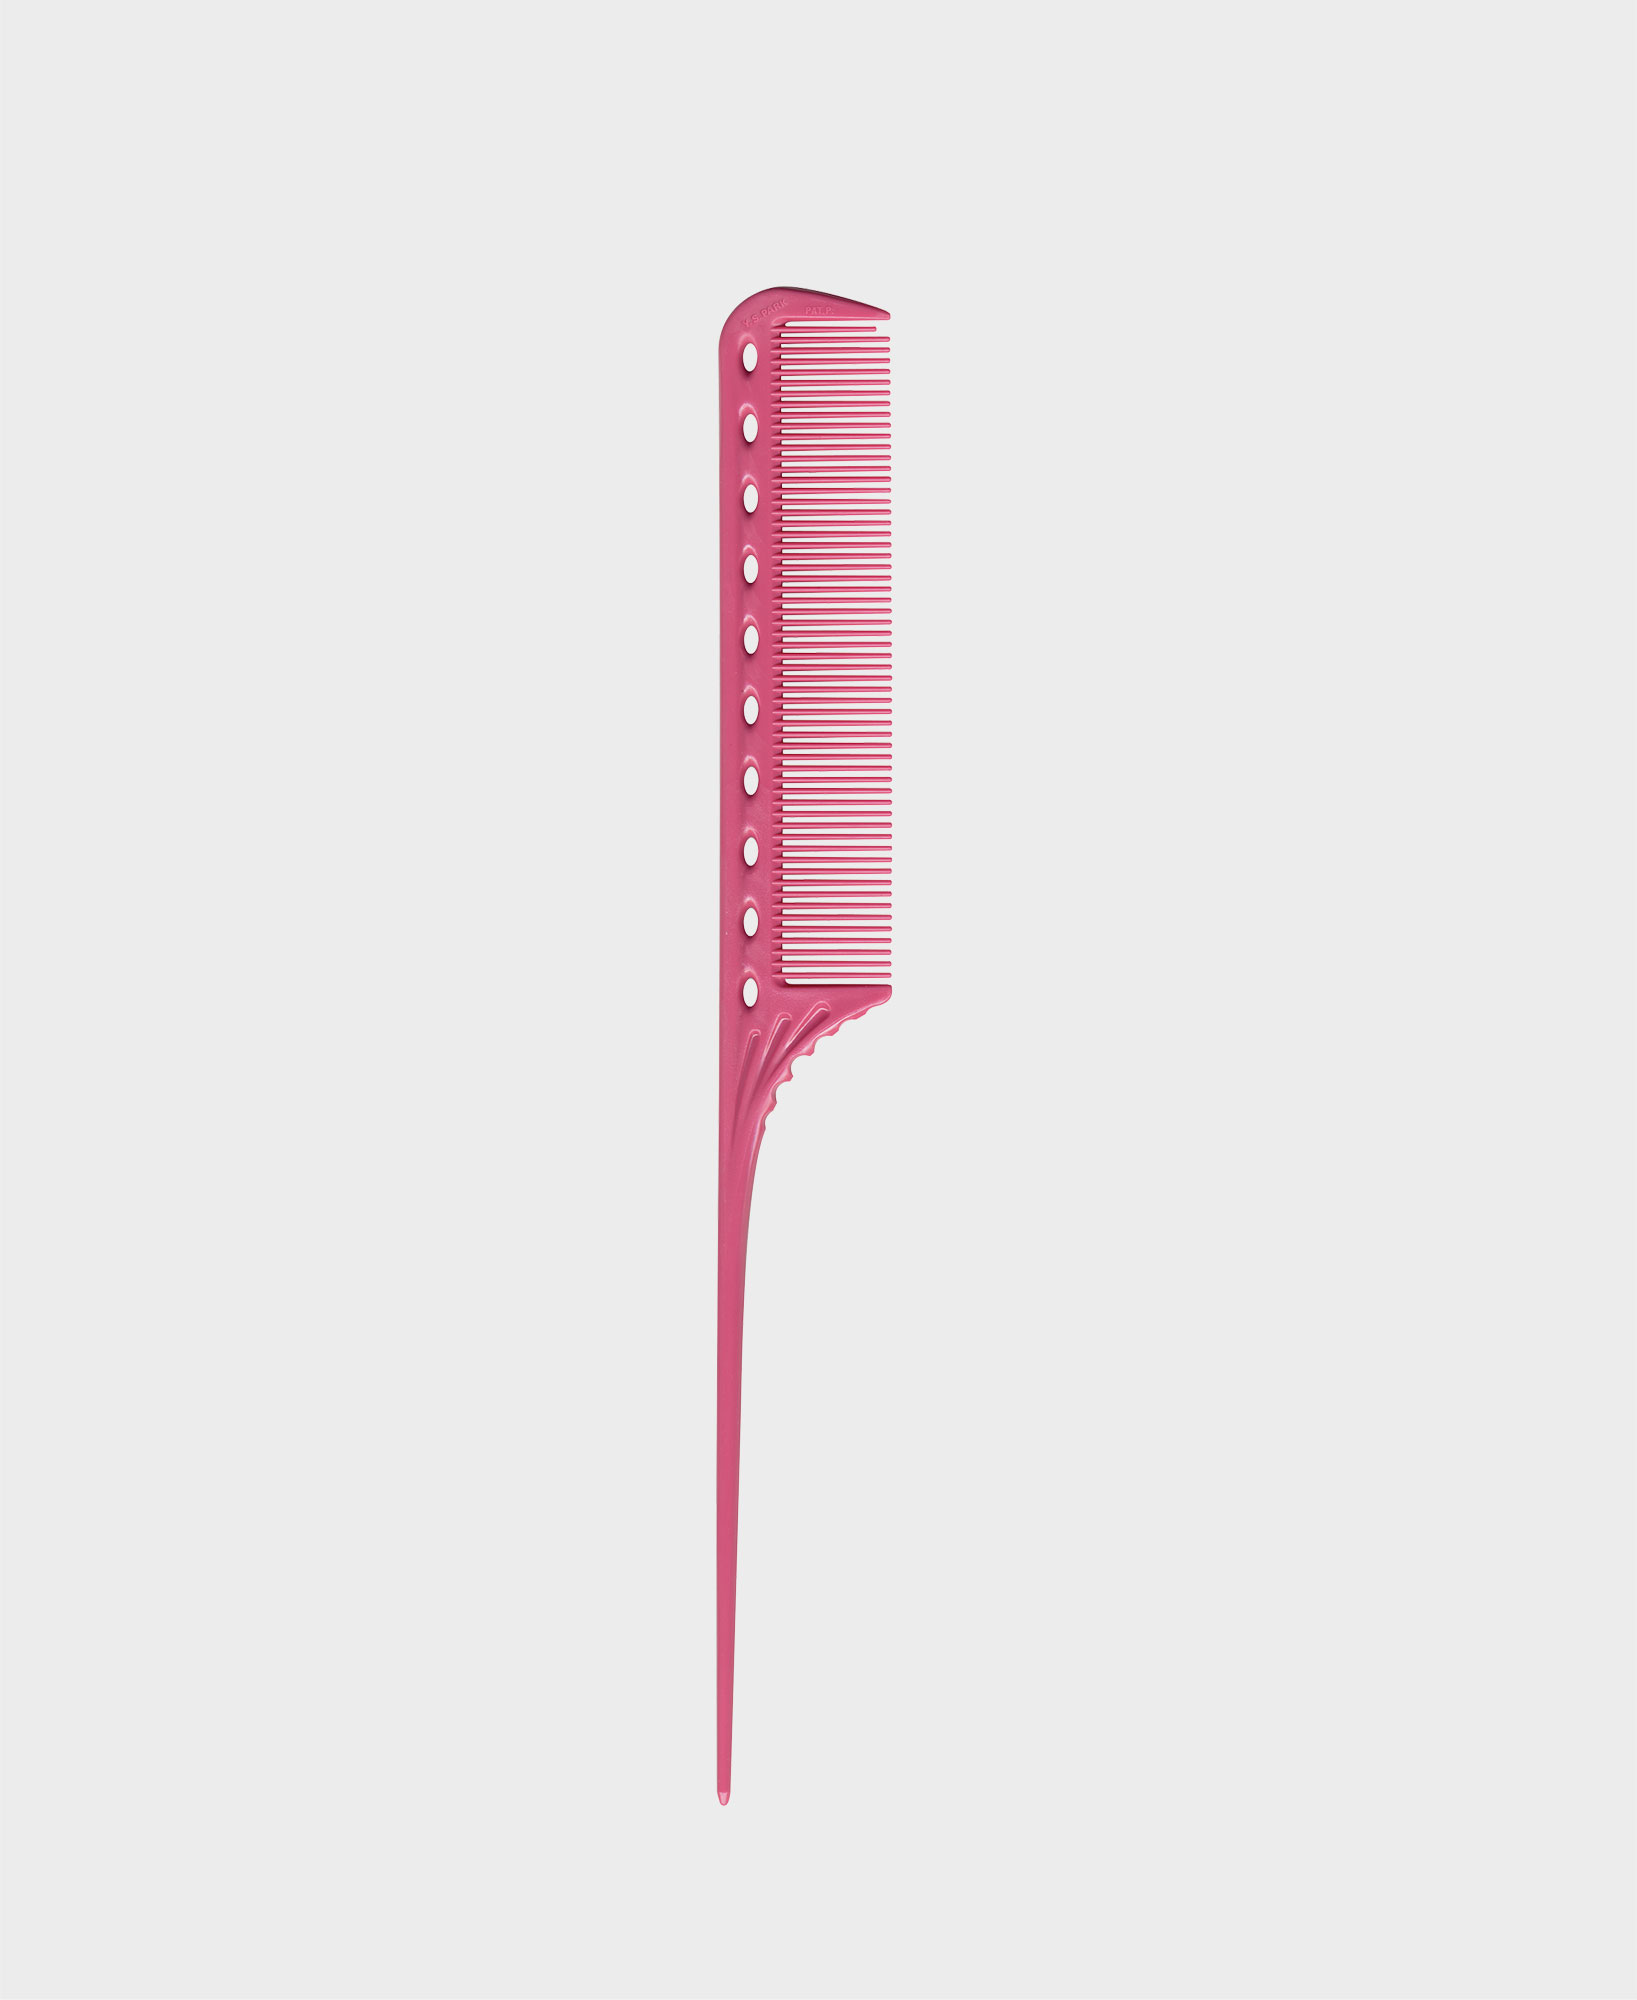
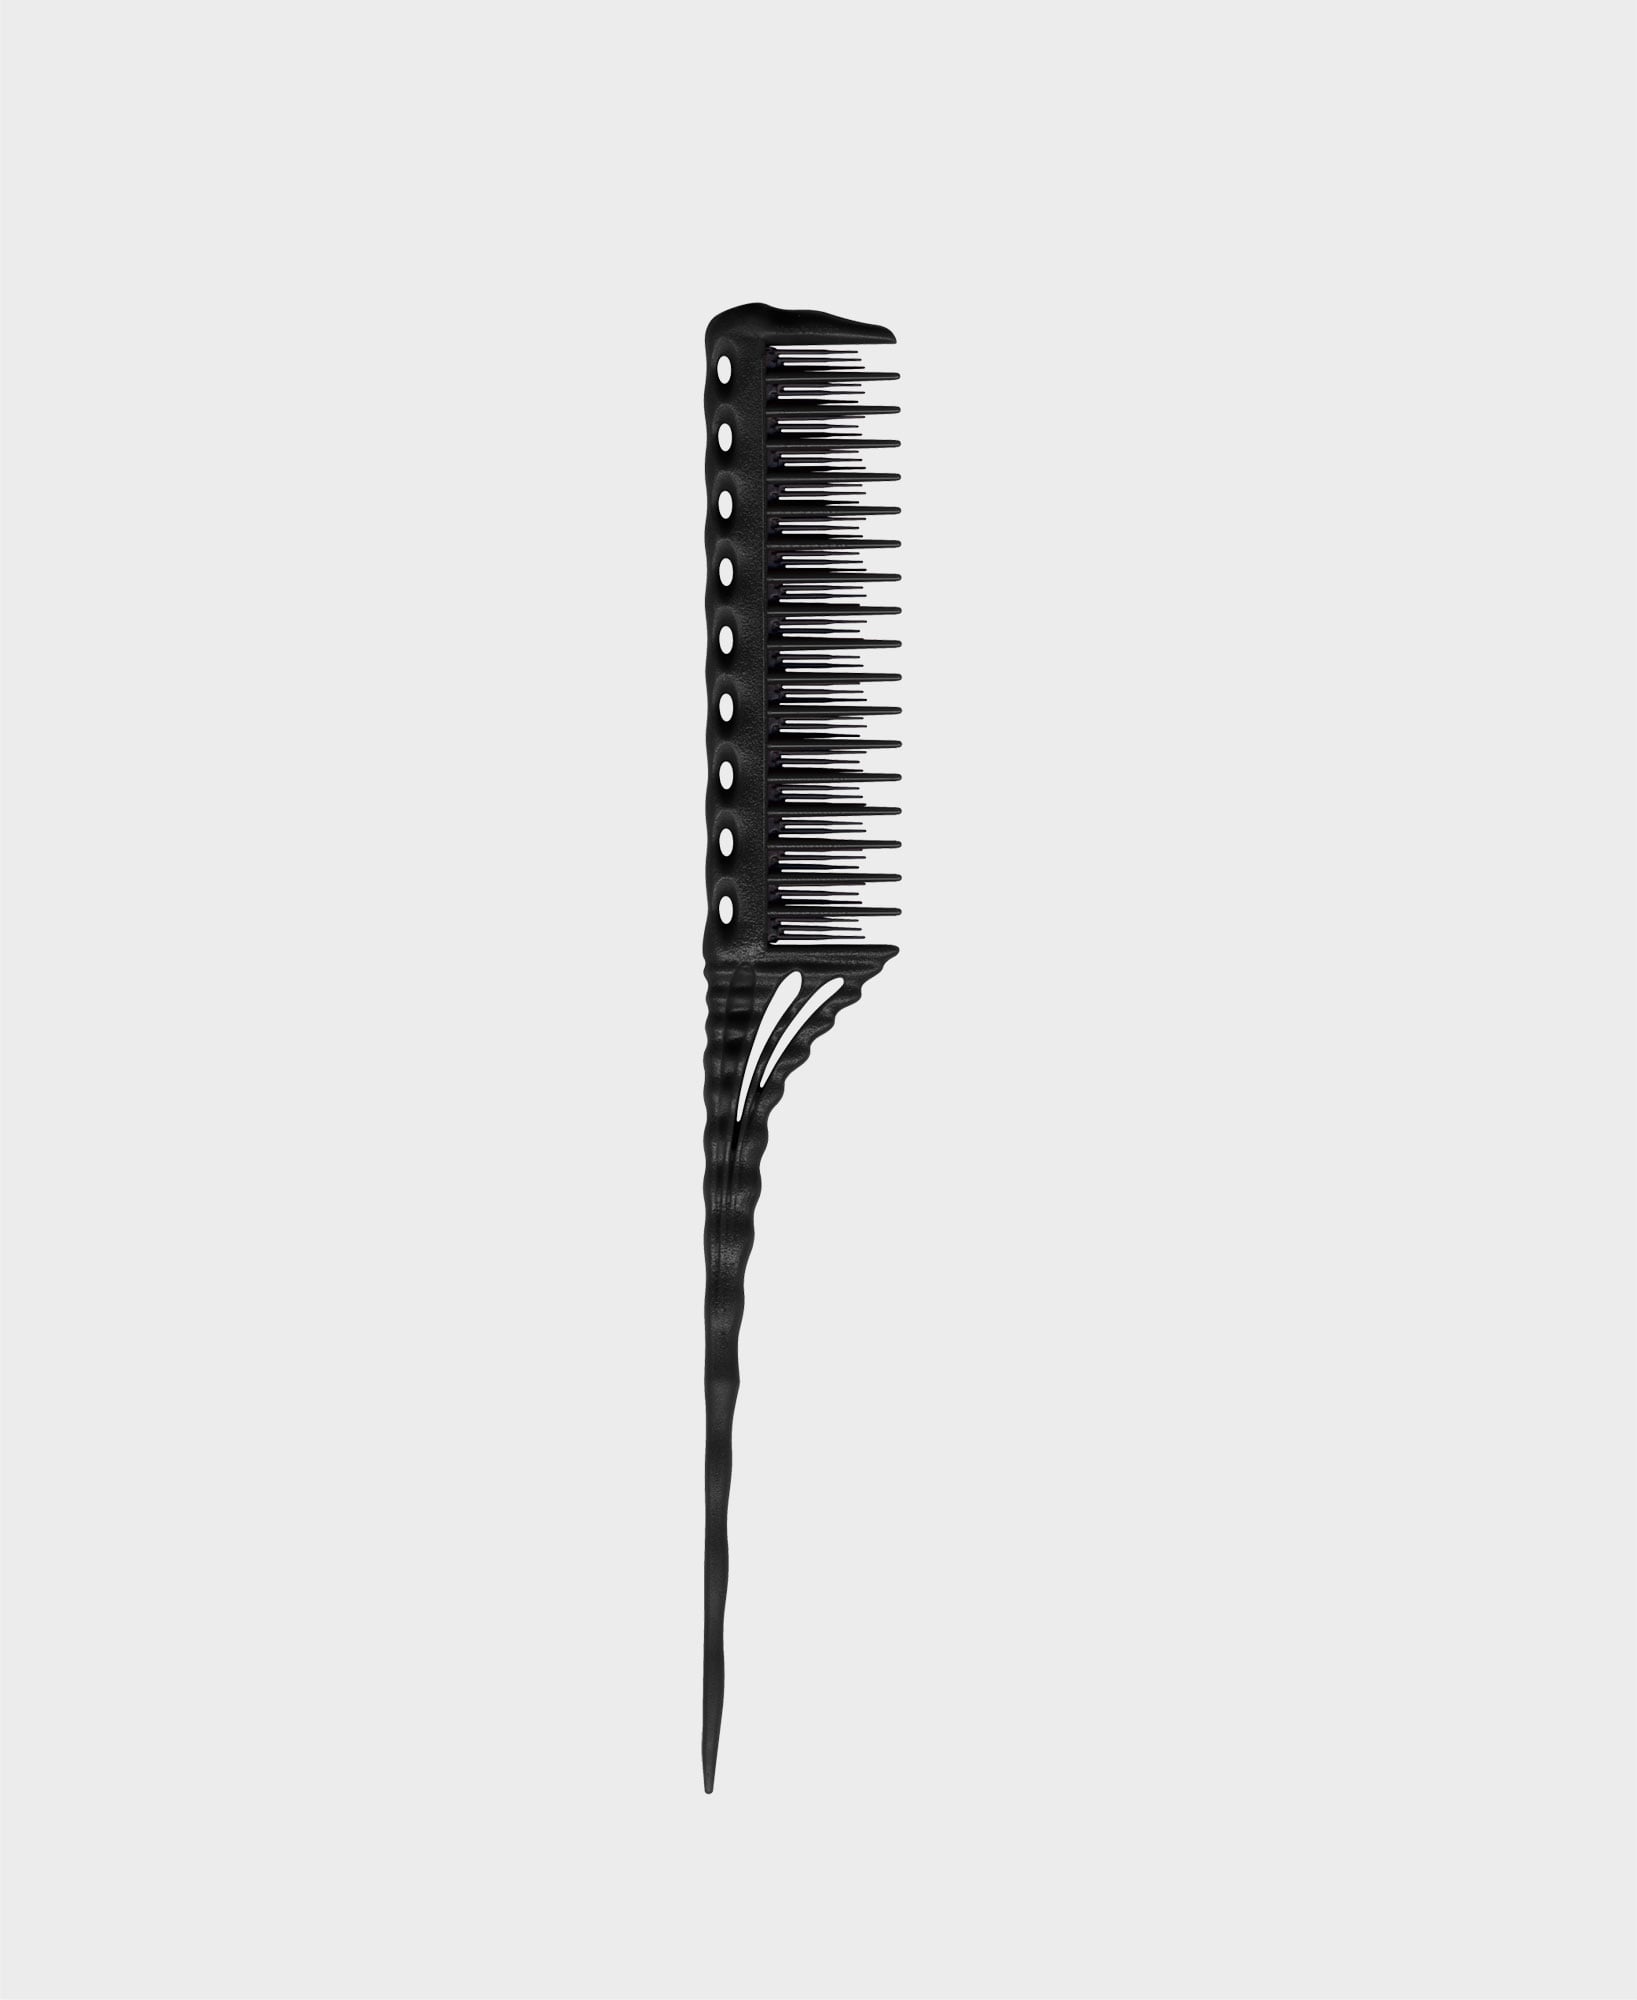
- Grab your sectioning tool such as a Y.S Park Tail Comb and your Chunks Micro Claws, we're going in.
- Starting at your centre part and working either to the left or right, part in inch-wide sections, twist and underpin with a bobby pin.
- Clip up each one as you go. Add heaps of clips, there is no limit. When you're happy with your handy work, run some silky hair serum through the lengths for a glossy, healthy-looking finish.
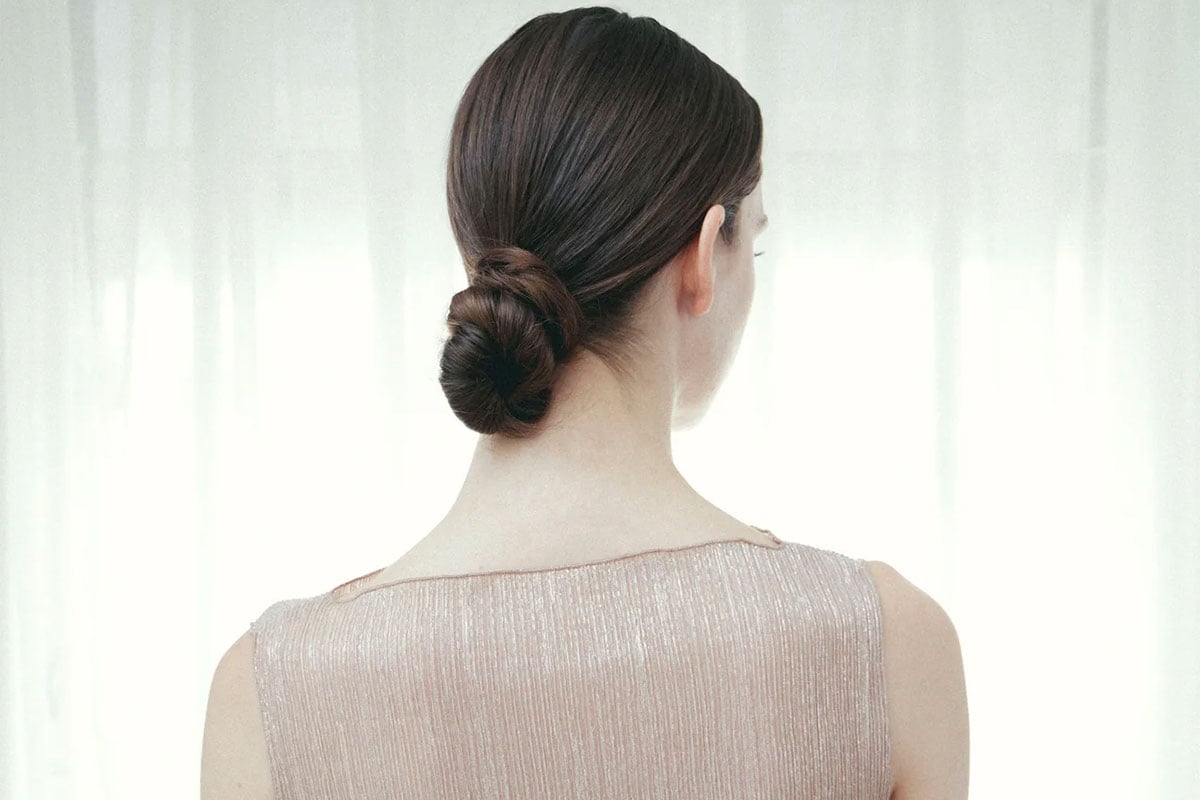
Glass Hair
+
+
Flowing, shiny hair never looked so good. With the right products and tools plus some attention to detail, you too can whip up reflective glass hair.
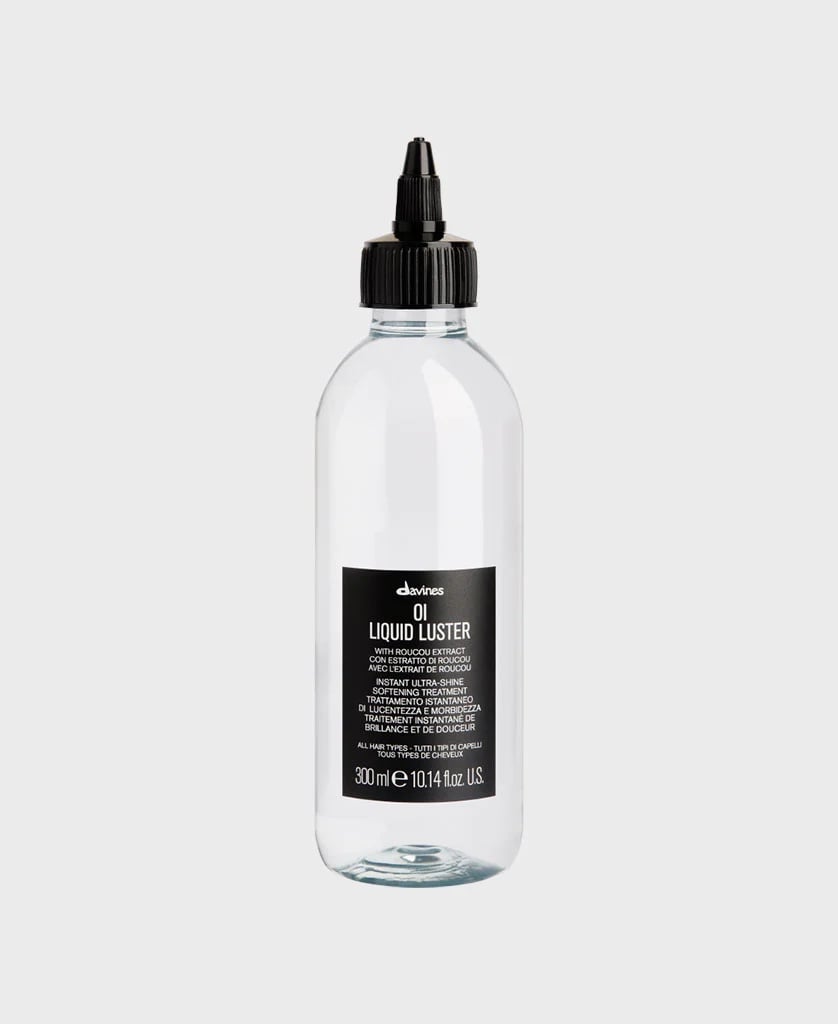
- After shampooing, squeeze out excess water from the hair. Section and apply Oi Liquid Luster directly to hair fully saturating from mid-lengths to ends. Comb through then rinse before conditioning.
- Towel dry and section your hair into medium sections.
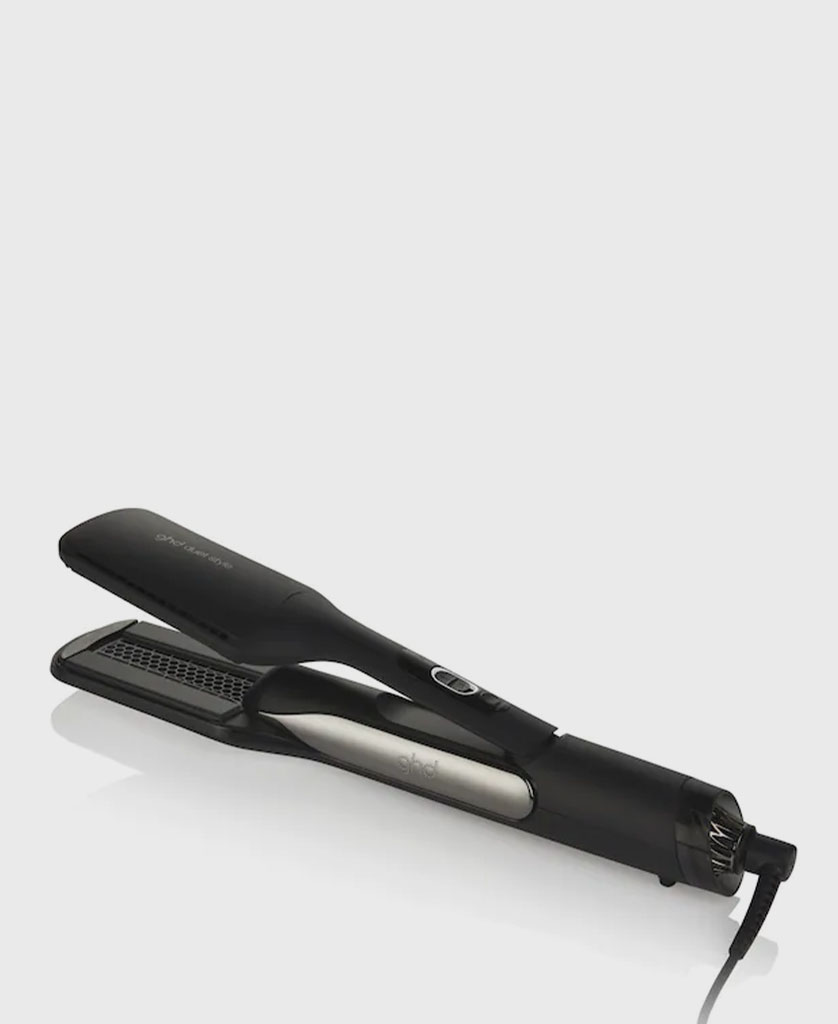
- The GHD Duet Style dries and styles at the same time! Place the styler at the root, slowly glide down to the ends and repeat until dry. It even has a Shine Shot mode!
- Place your chic black headband and finish with a spritz of shine spray for ultra-glossy glass hair.
Zig-Zag Space Buns

+
+
+
+
Space buns for the celestial being. Um, perfect festival hair!
- Prep the hair with your Oribe Gel Serum or styling cream to set your glossy, smooth foundation. Remember to coat each strand here - not just the top layer.
- Grab your Y.S Park Tail comb and create your Zig Zag hair part.
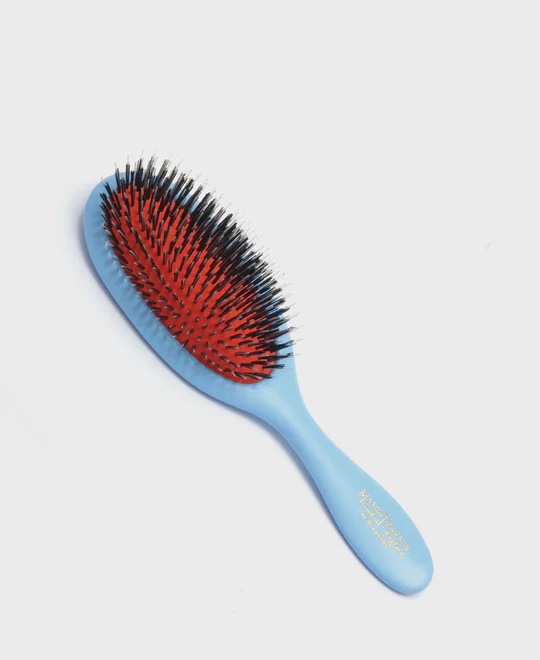
- Using your Mason Pearson Handy Hairbrush, smooth the hair up and back into high pigtails and secure each in place using hair ties.
- Now it's time to twist your pigtails up. Section the pigtail into two equal parts and twist up one section at a time before pinning in place. Wrap the second twist around the first and pin when you're happy with how it looks.
- You want major shine and a stronghold so go hard with your finishing spray and those buns will stay put all night.
- For the finishing touch, to make sure your buns are super secure, wrap them with a bow or ribbon.