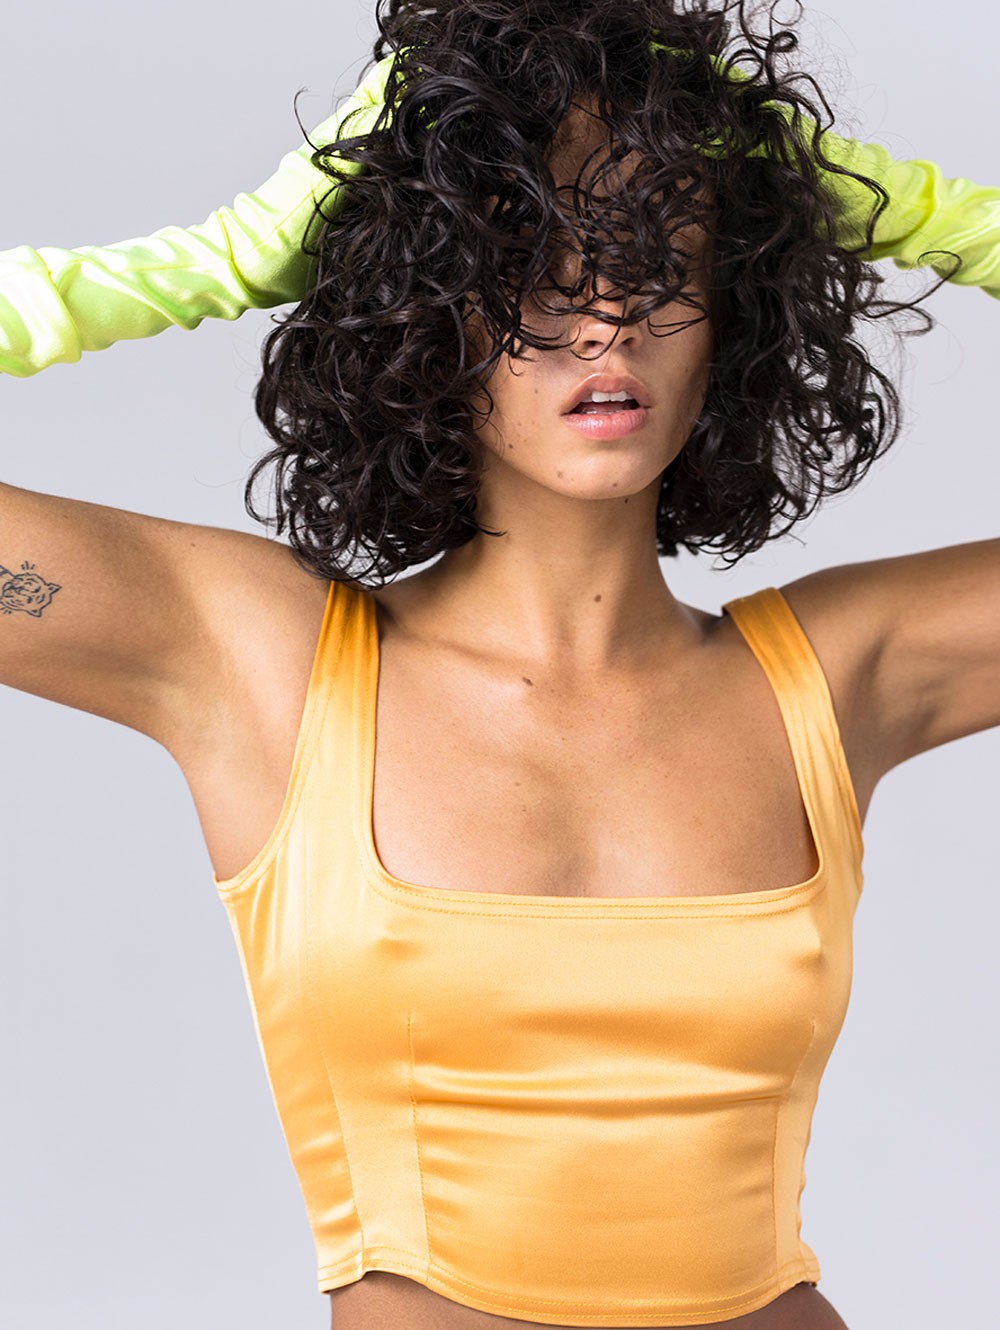
Getting Perfect Curls – The not-so-secret secret to perfecting your curl prep.
If you have curly hair and have scrolled through literally any beauty website/blog/IG page/Tik Tok on the internet then you have most likely heard of The Curly Girl Method.
This method, originally created in 2001 by hairdresser and author of Curly Girl: The Handbook, Lorraine Massey, offers a pretty stripped back guide to helping all people with different curl types fully understand and embrace their hair's true texture - sans silicones and sulfates. It follows three simple steps:
Cleanse - preserve
Condition - organize curls
Style - maintain
Although a lot has changed since 2001 – with new products, brands, heavily influenced [social] media and opinions that are both paid and personal preference - the aim of this method always remains the same; to treat naturally curly hair gently, to minimize damage to the hair cuticle, to keep curls moisturized, and to accentuate the hair's natural curl pattern.
Here is 'The Curly Girl Method' and the best haircare for your curls as recommended by Lauren Gunn.
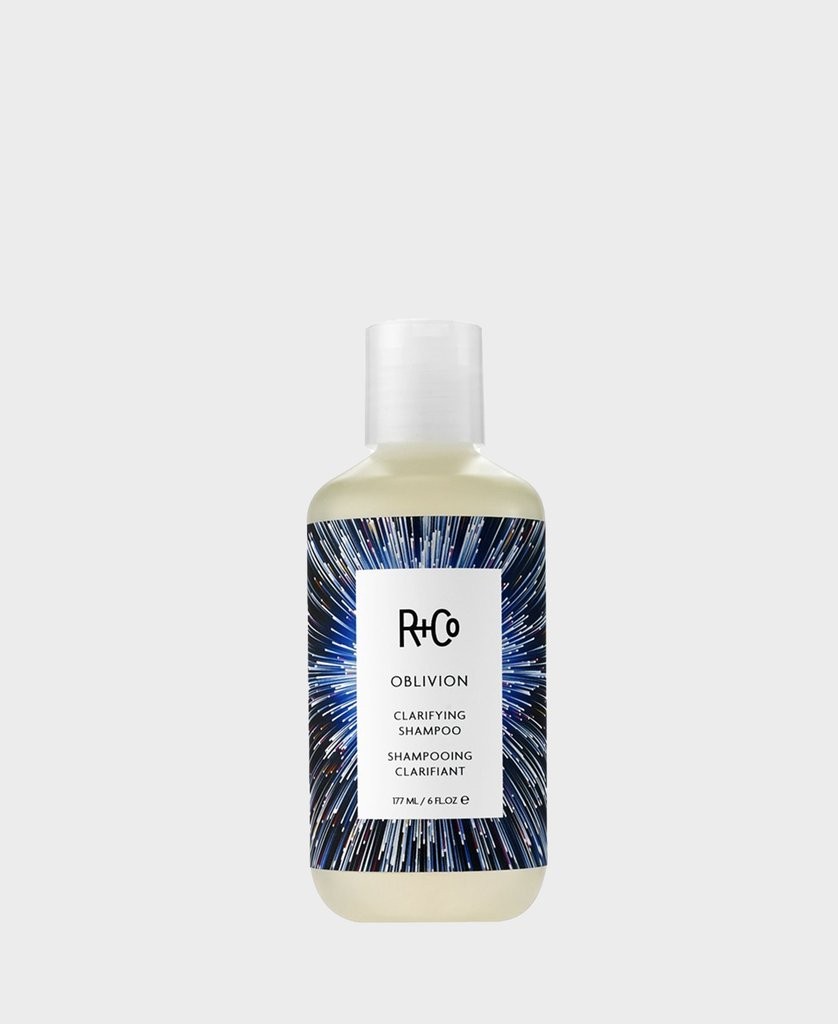
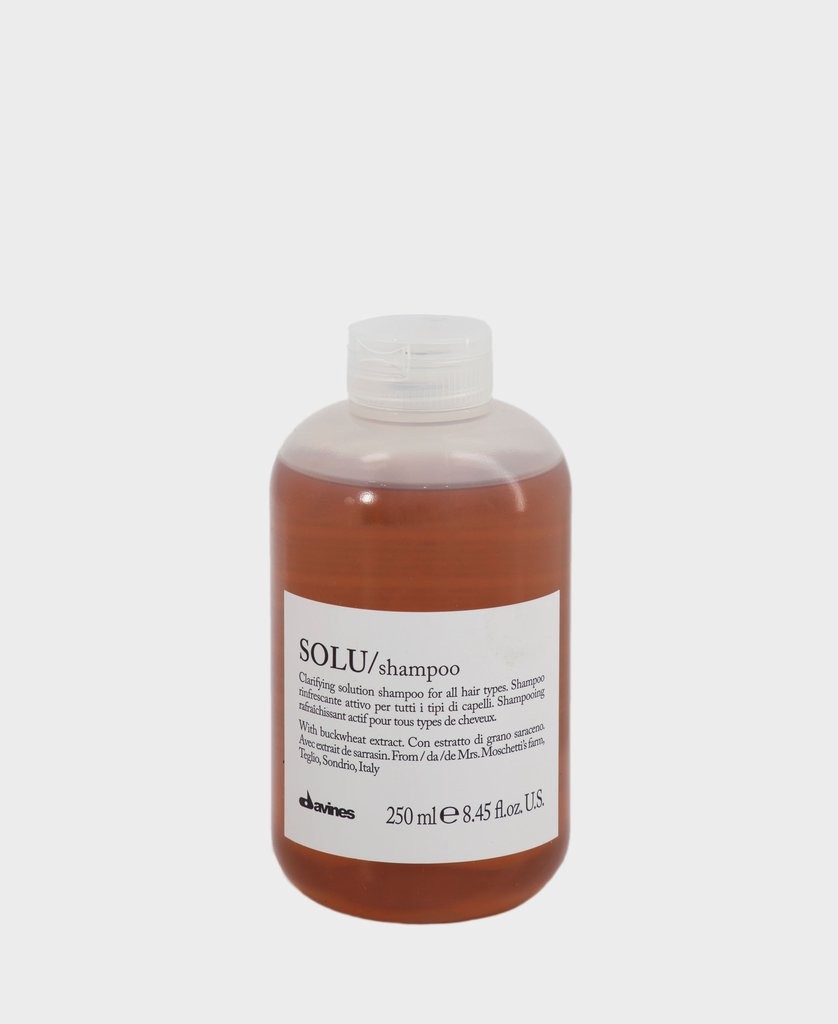
Step 1: Final reset wash
Begin your CGM journey with a reset. Wash your hair with a clarifying shampoo, that’s right, you need sulfates to remove silicone and wax build-up from your hair. This restores your hair back to its clean, natural state. You don’t want to be doing this often as it can cause dryness to your curls.
+
+
+
Step 2: Cleanse
From now on, to clean and condition your hair you’ll be washing with a co-wash - or conditioner wash. It removes build-up, hydrates and improves curl manageability too. Alternatively, you can use a hydrating sulfate-free shampoo.
Gently massage the co-wash through your hair and along your scalp with your fingertips to lift residue and oils for 1 minute then rinse.
+
+

+

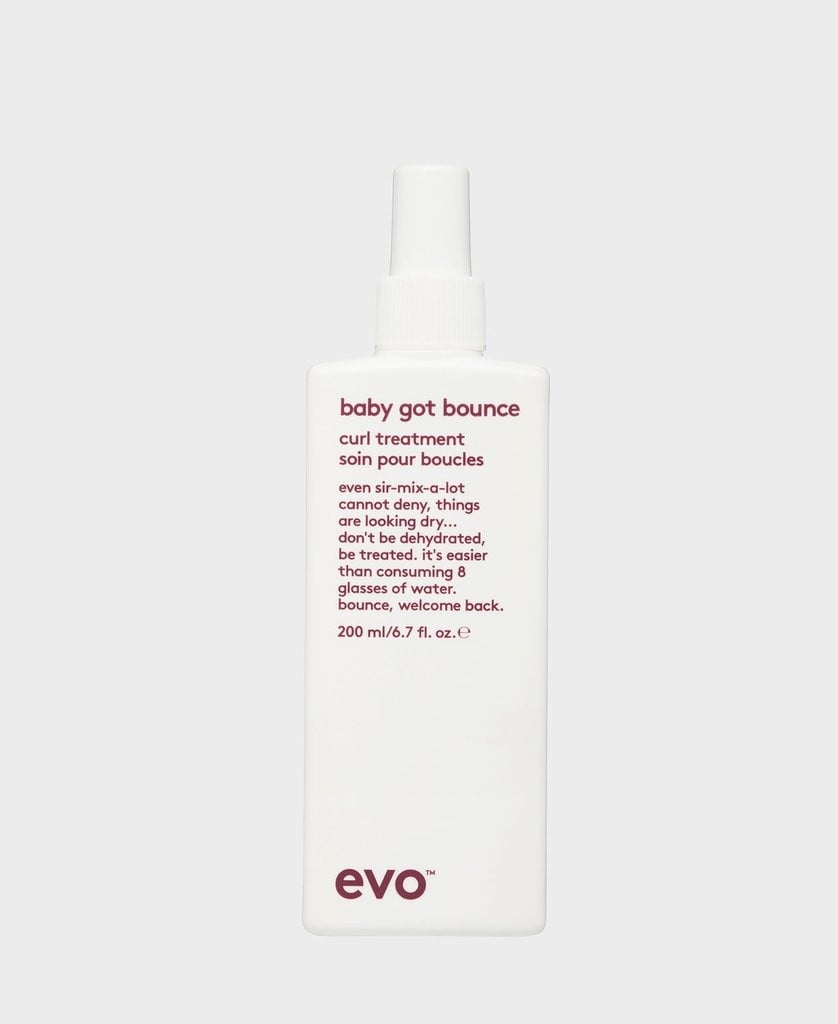
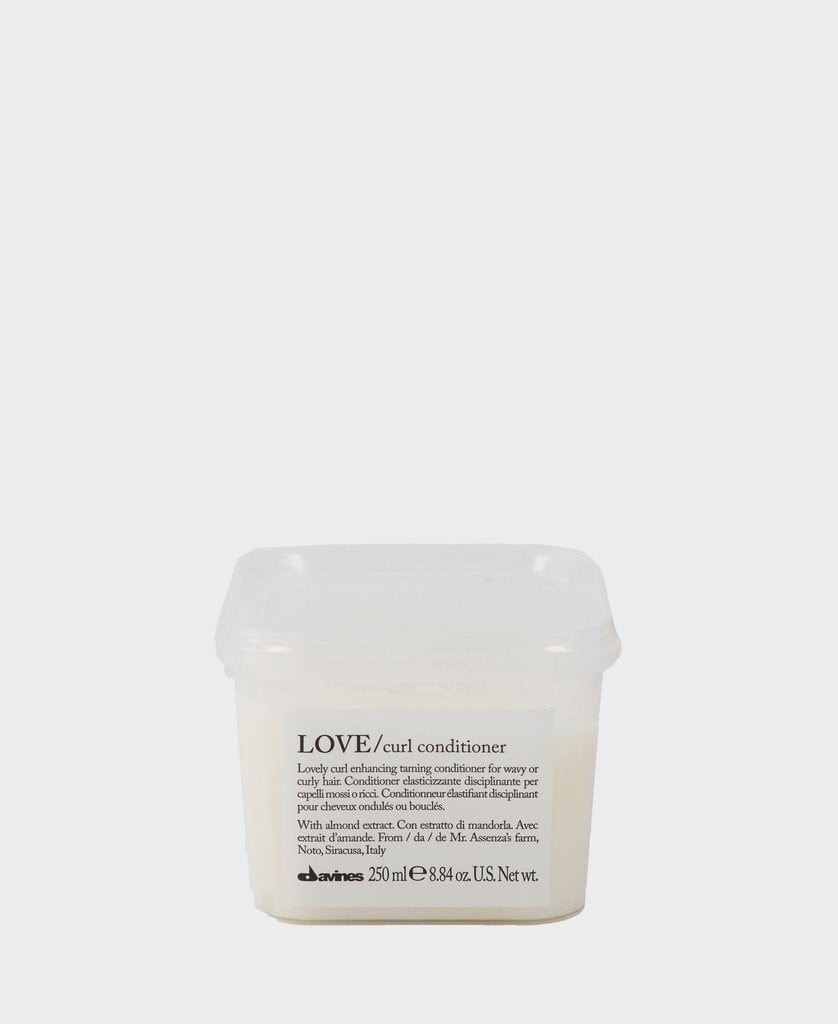
Step 3: Condition
Working in sections, smooth the conditioner through your hair until it is fully saturated – don’t be afraid to use a handful of conditioner here! Alternatively, you can also use a moisturizing curl treatment for this step.
Once your hair is fully coated with conditioner use a wide-tooth comb to help get even distribution throughout your hair then rinse most of the product out – but leave a little in for frizz control and long-lasting definition.
+
+
+
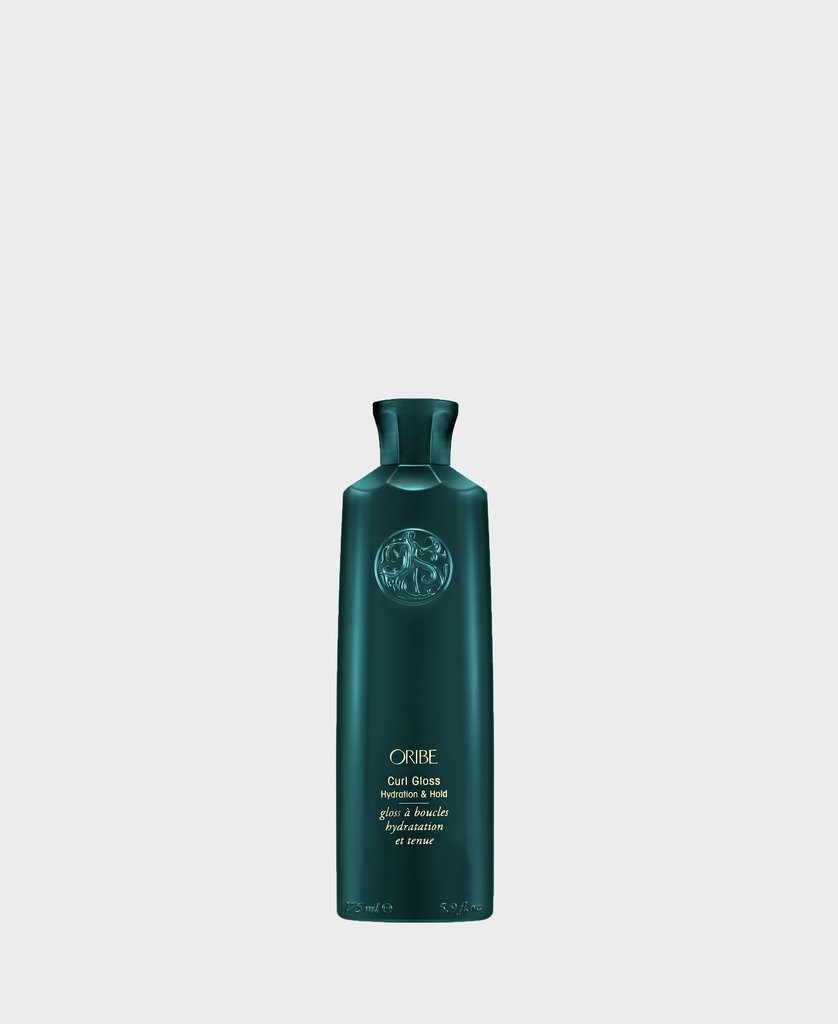
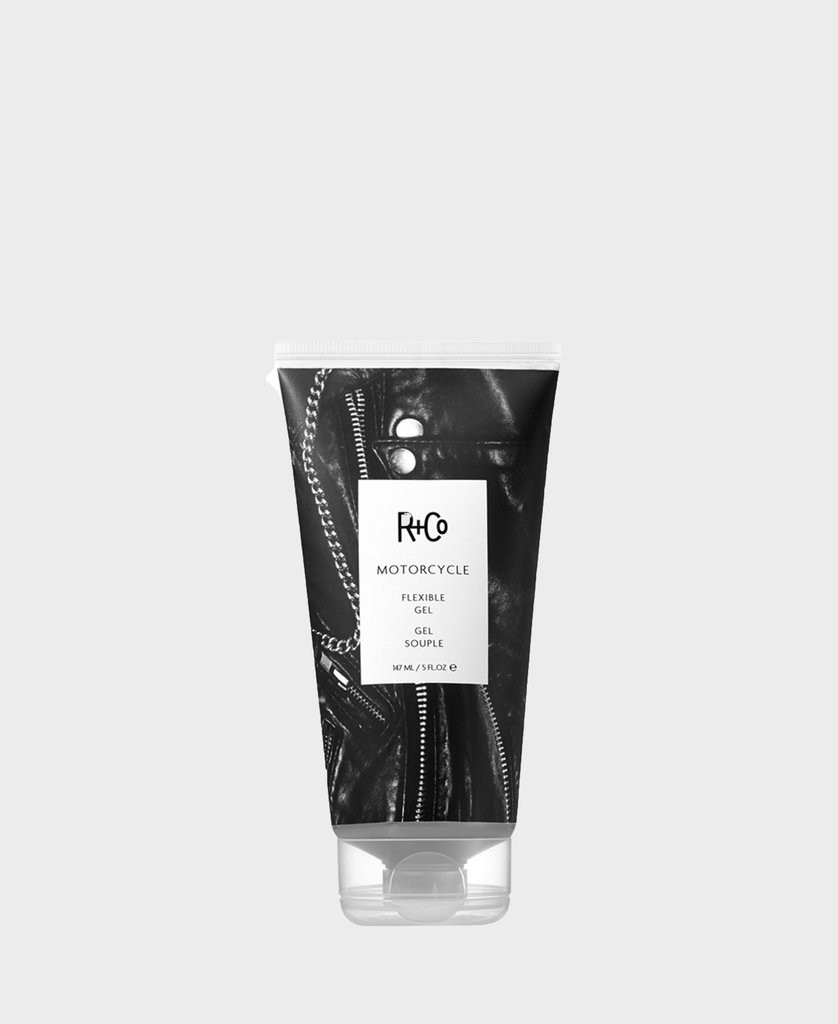
Step 4: Style (No tools needed here!)
Once you’re out of the shower, use your hands to rake a palmful of gel into your soaking wet hair. Always remember: rake from the roots and scrunch the tips.
+
+
+

Step 5: Dry. (Still, no tools needed.)
You may have heard that using a towel to dry your precious curls is a big no-no. Why? Towel drying can be abrasive and cause damage. Instead, ‘plop’ or cup and blot and squeeze the hair using a cotton t-shirt; this will press the product into your hair while squeezing the excess water out. Now step away from the mirror and leave your hair to air dry or flip your head up and tie your curls on top using a turban - recommended if you’re drying overnight. Once 100% dry, carefully scrunch with your hands to break down that crunchy product coating without disturbing the curl pattern.
+
+
Step 6: Can’t stop, won’t stop
Repeat steps 2 – 5 every time you wet your hair – and only use step one if you use a product with silicone.
Various curl textures will have different needs, the best thing to do is try out the method to see if it works for you – and if it doesn’t quite hit the mark, adjust it to suit! There are no rules, just recommendations.
If you can, try to avoid:
• Shampoo
• Heated tools
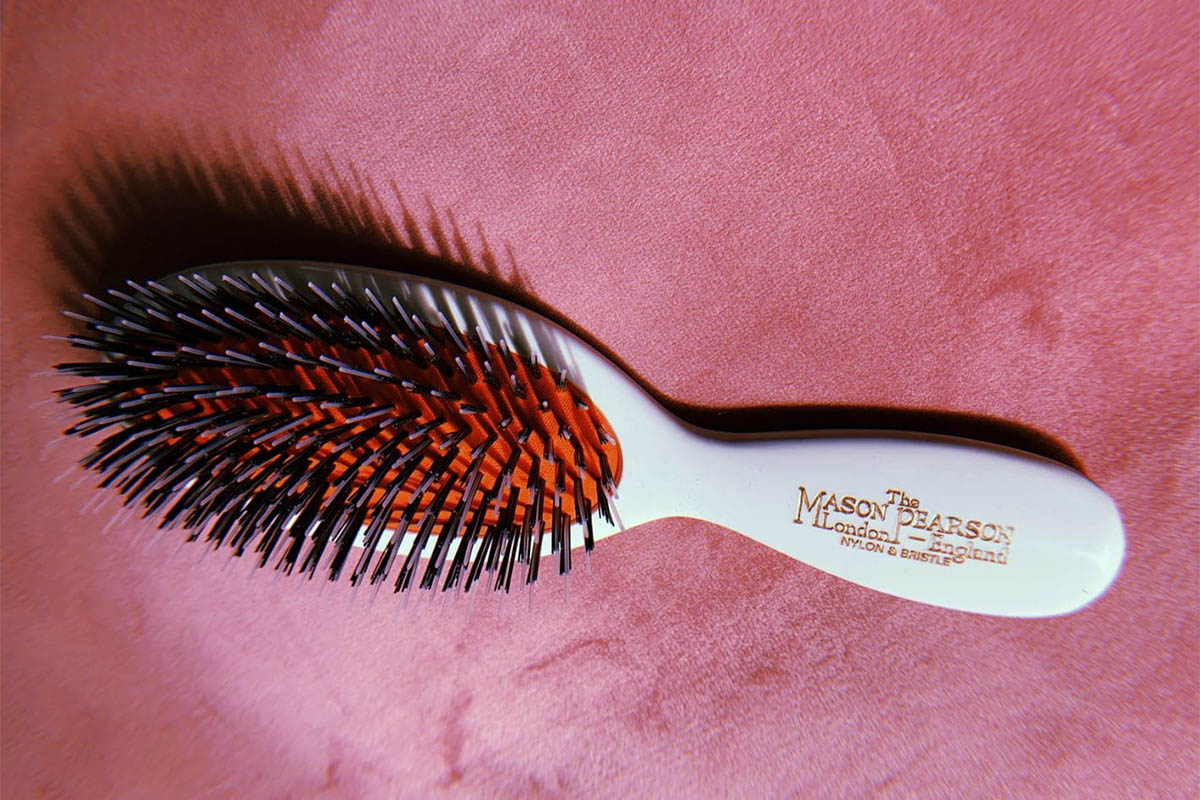
• Combs & brushes
• Sulfates
• Alcohol-based products
• Non-water soluble silicones
PRO TIP: The more you practice this method the better the results will be. It takes time for your natural curl pattern to thrive and it won’t be long before you’re enjoying glossy healthy curls and lapping up the compliments from your friends.